
ARMSX1 PS1 Emulator APK v0.3.6 Download
ARMSX2 Team
Release details
- Version0.3.6
- DeveloperARMSX2 Team
- SHA-256
121bccccea97a9051b061f25ec671039e613788b76e95c80ee5a21adf6127574 - Release date16 Oct 2026
What Is ARMSX1?
ARMSX1 is a PlayStation 1 (PS1) emulator for Android from the ARMSX2 team. It plays games in BIN/CUE, ISO and CHD format, with HD rendering, runahead to cut input latency, and cheat support. The project started as a fork of psxe. From version 0.1.6 the team switched its base to SwanStation, since psxe had become outdated, so the app now runs that libretro PlayStation core inside ARMSX1's own, more modern frontend. Around the core, ARMSX1 adds a game library, settings, customizable controls, hotkeys and a cheat manager.
In the settings you pick the renderer: hardware Vulkan, OpenGL ES, ANGLE, or the software renderer. With a hardware renderer, games can run at HD resolution with PGXP geometry correction. On Snapdragon devices you can also install a custom Adreno driver for Vulkan from the driver manager. The rest of the feature list covers runahead, cheats, RetroAchievements, box art and controls you can set up the way you like.
Key Features of ARMSX1
Below are the features currently available in the ARMSX1 emulator. Some features depend on the renderer you choose: HD presets only work with the hardware renderer, not the software renderer.
HD resolution up to 4×
In the Video menu, you can select HD 2×, HD 3×, or HD 4× to render the game at 2×, 3×, or 4× the resolution of the original PS1. The developer recommends HD 3×. In our test on a POCO X3 NFC, HD 4× also ran smoothly, so we recommend HD 3× or HD 4×. HD presets only work with a hardware renderer, not the software renderer.
60 fps and Runahead
As of version 0.1.6, the core is now capable of running games at up to 60 fps. Runahead reduces input latency without compromising the 60 fps performance. Setting the HD preset to a higher level will increase the load on the GPU, so lower the preset if you notice any drops in frame rate while playing.
Cheat and Download Database
The ARMSX1 emulator provides a cheat database that you can enable or disable via the settings menu. Cheats can be downloaded directly from within the application, with no updates required. You can also set up hotkeys to activate cheats while playing.
Touch Controls and Physical Controllers
You can configure on-screen control buttons and save their layout. External controllers can also be connected to the emulator. Both touch-screen controls and external controllers can be used simultaneously.
Library and Collections
Box art is downloaded automatically, you can replace collection images with your own custom ones, menu order can be adjusted, and multi-disc games are consolidated into a single M3U entry.
RetroAchievements
Collect achievements in supported PS1 games and view the list via the RetroAchievements library within the app.
Supported Game Formats
BIN/CUE and ISO
A standard .bin + .cue pair, a single-track .bin file, or an .iso dump of your own disc.
CHD
Compressed .chd images, including mixed-mode discs with audio tracks, pregap, and subchannel data. Corresponding .sbi files are also loaded for discs that require them.
ZIP Archives
.zip files containing supported game images and their accompanying files can be opened directly without needing to be extracted first.
M3U Playlists
Group multi-disc games into an .m3u file. The library will display them as a single game, and you can use hotkeys to switch discs without exiting.
The ARMSX1 emulator does not provide any games or BIOS. You can obtain games from your own discs, and you can download the BIOS from the PS1 BIOS page.
How to Install and Set Up ARMSX1
Installing ARMSX1 takes only a few minutes. All you need is the APK, a PlayStation BIOS file, and your own game disc images.
-
Install ARMSX1 APK
Download the latest ARMSX1 APK from the download page, open it via your file manager, and tap Install. Since the APK does not come from Google Play, the Android system will ask for permission to install applications from other sources the first time you attempt to install it.
-
Run the initial setup and select a data folder
Open ARMSX1. The setup welcome screen displays three steps: App Data Folder, BIOS Location, and ROM Location. Tap Next, then choose where to store memory cards, save states, and configuration files. The "Internal" option uses app-private storage, which is sufficient for most users.
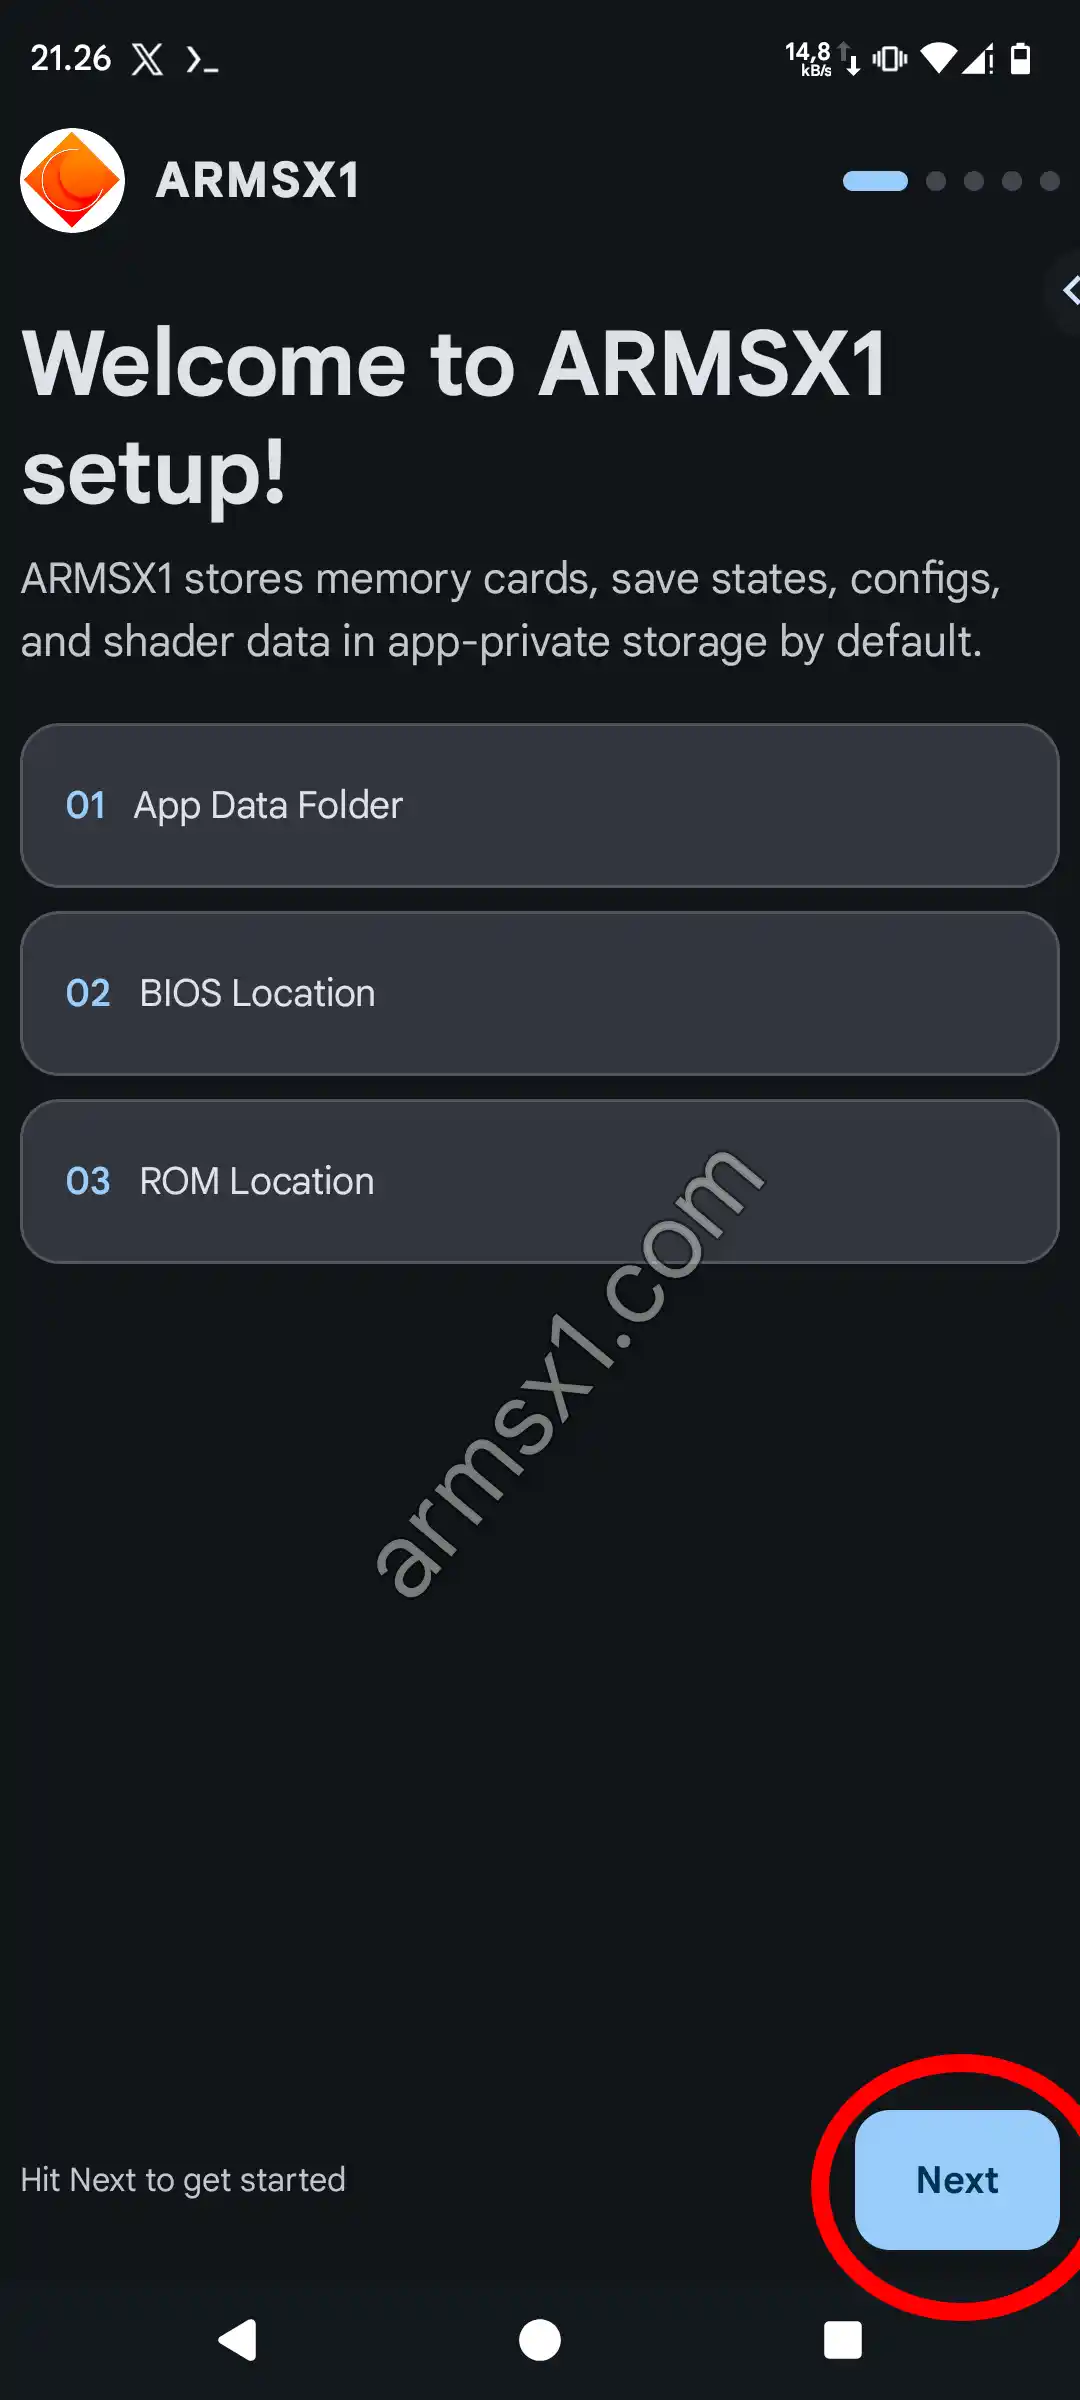
Setup welcome screen. Tap Next to begin. 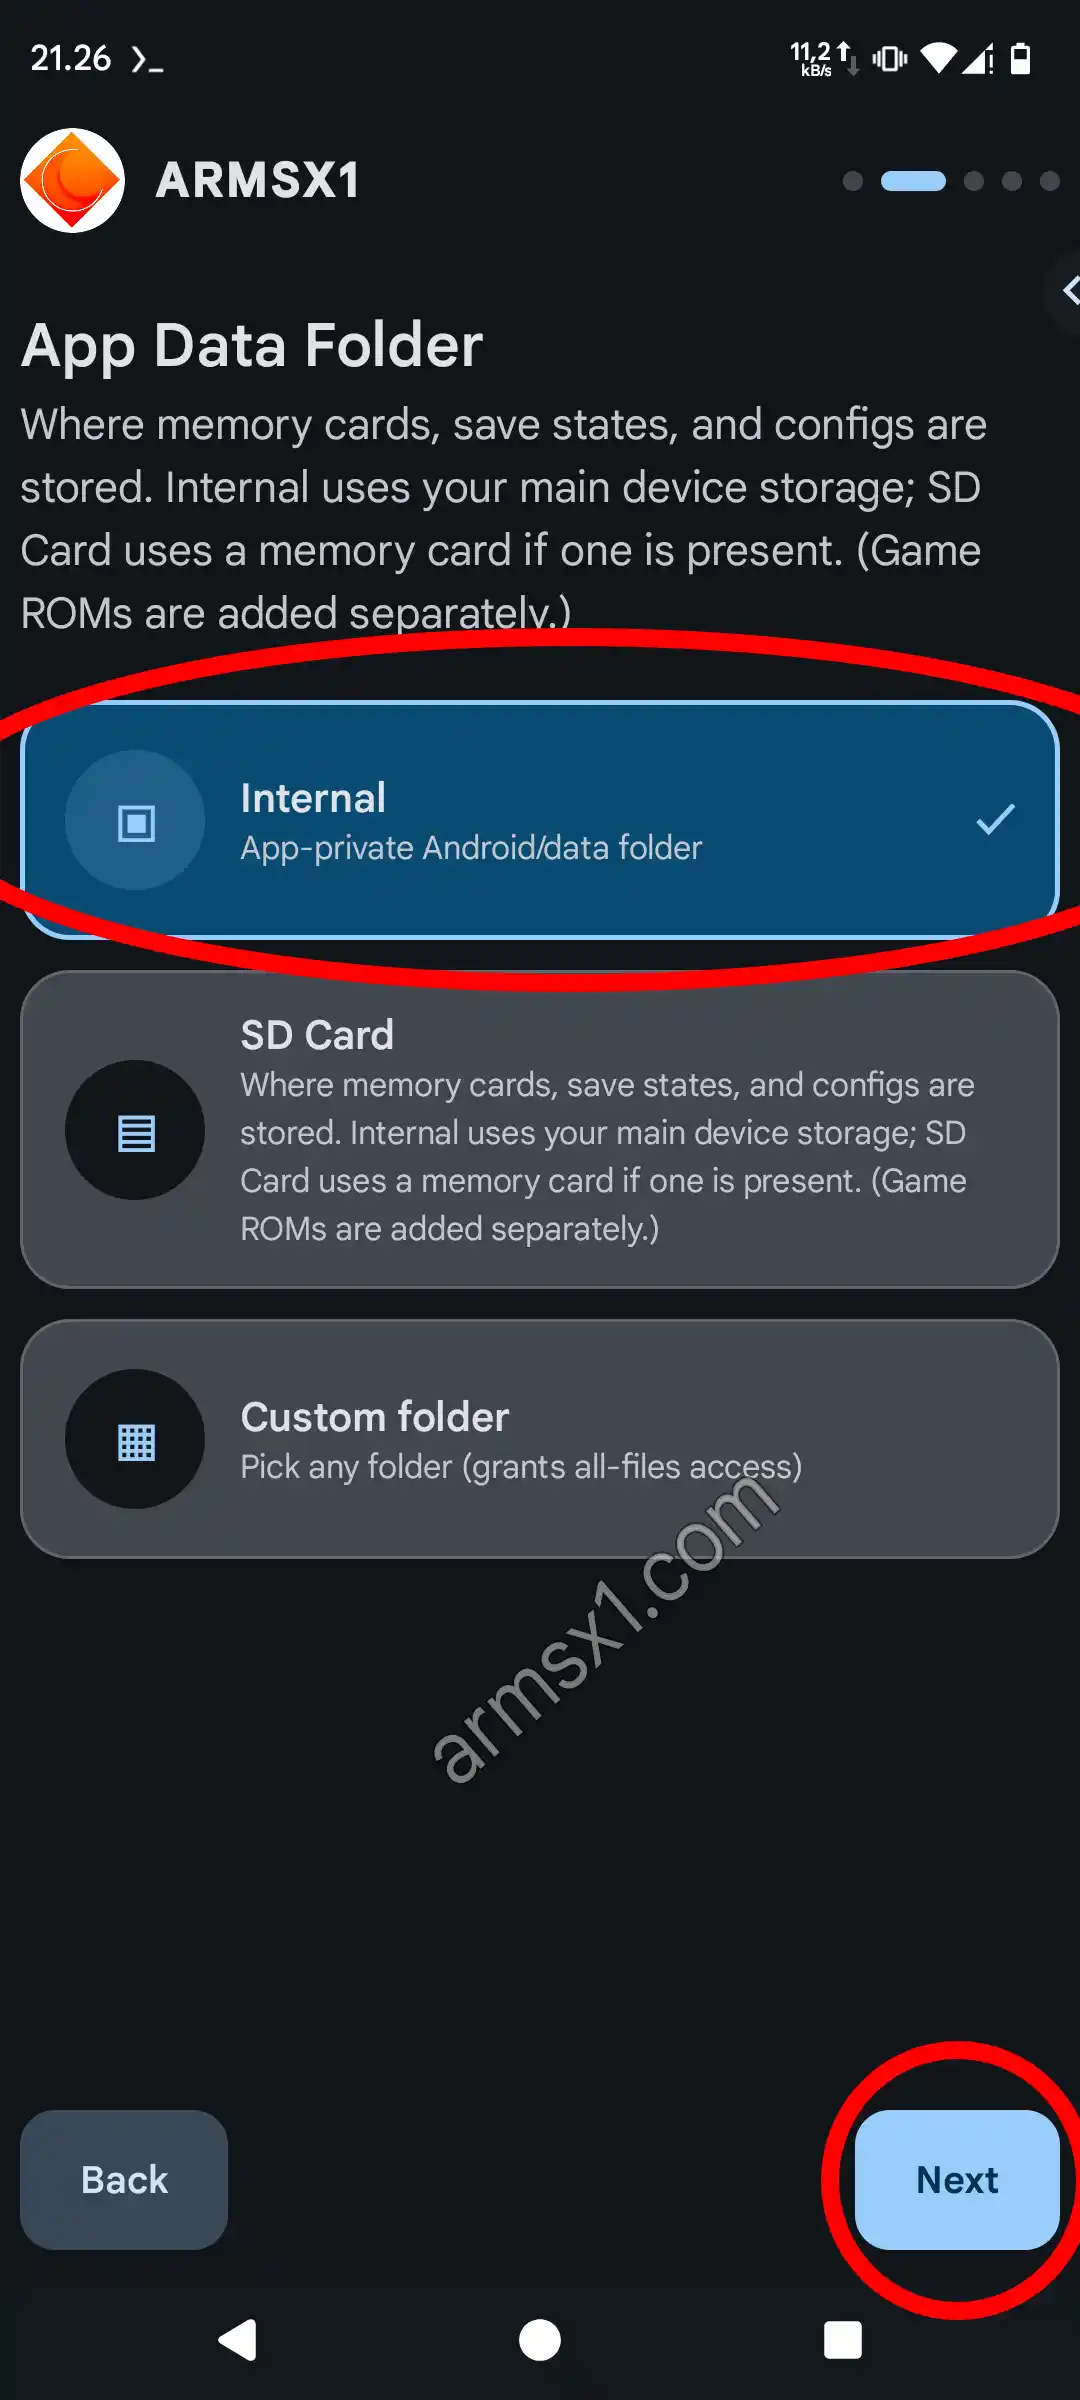
App Data Folder: leave it set to Internal, then tap Next. -
Select your PS1 BIOS
In the "Select your BIOS" step, tap "Select BIOS," navigate to the folder where your PlayStation BIOS file is stored, then tap "Use this folder" and "Allow." ARMSX1 identifies the BIOS based on its content rather than its filename, and the file must be 512 KB in size. Select a BIOS from the list, then tap "Next." This emulator does not include a BIOS.
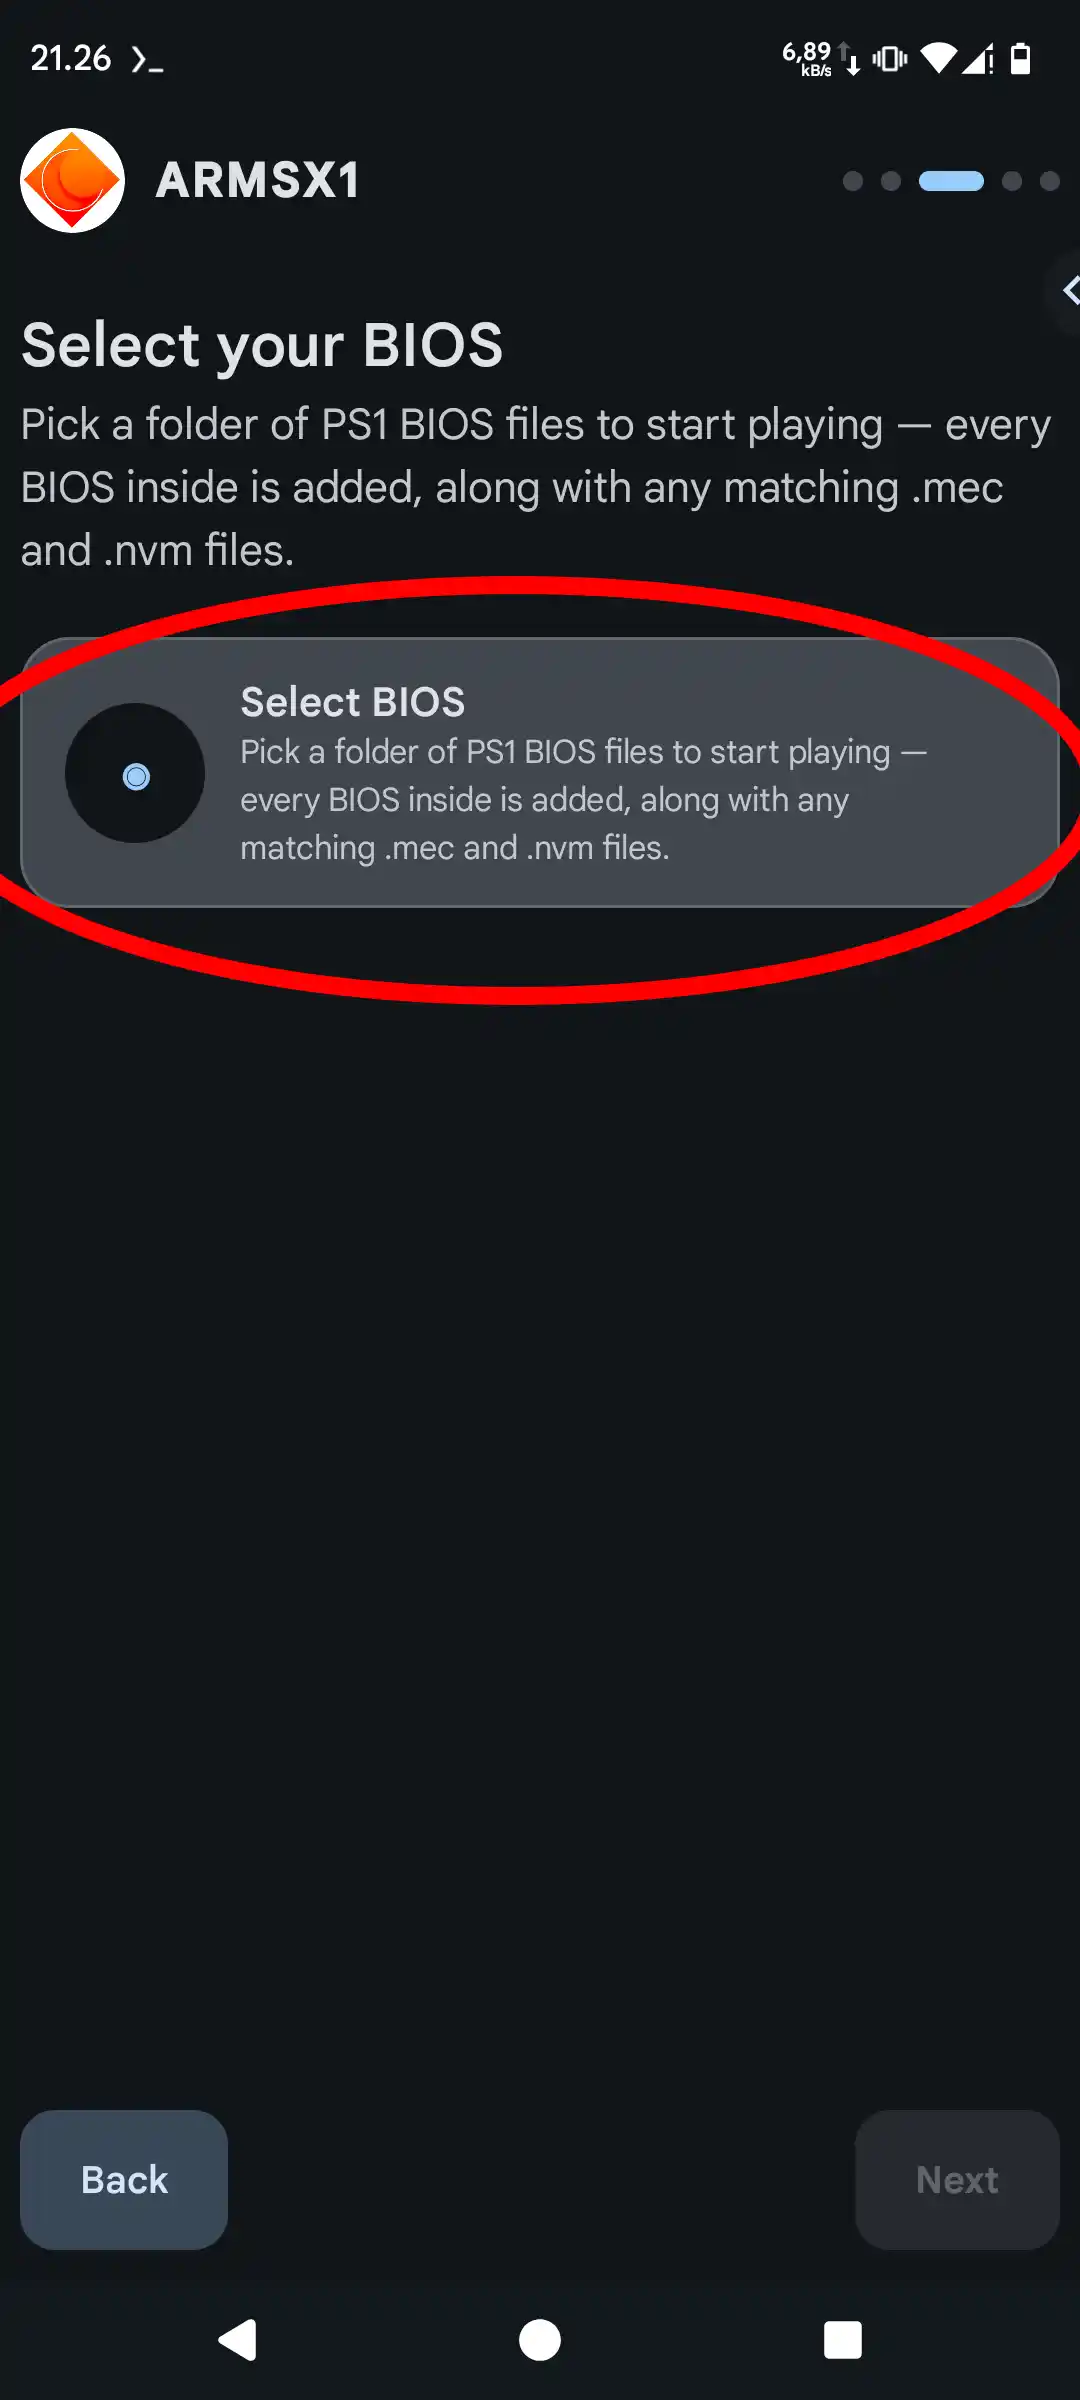
Tap Select BIOS. 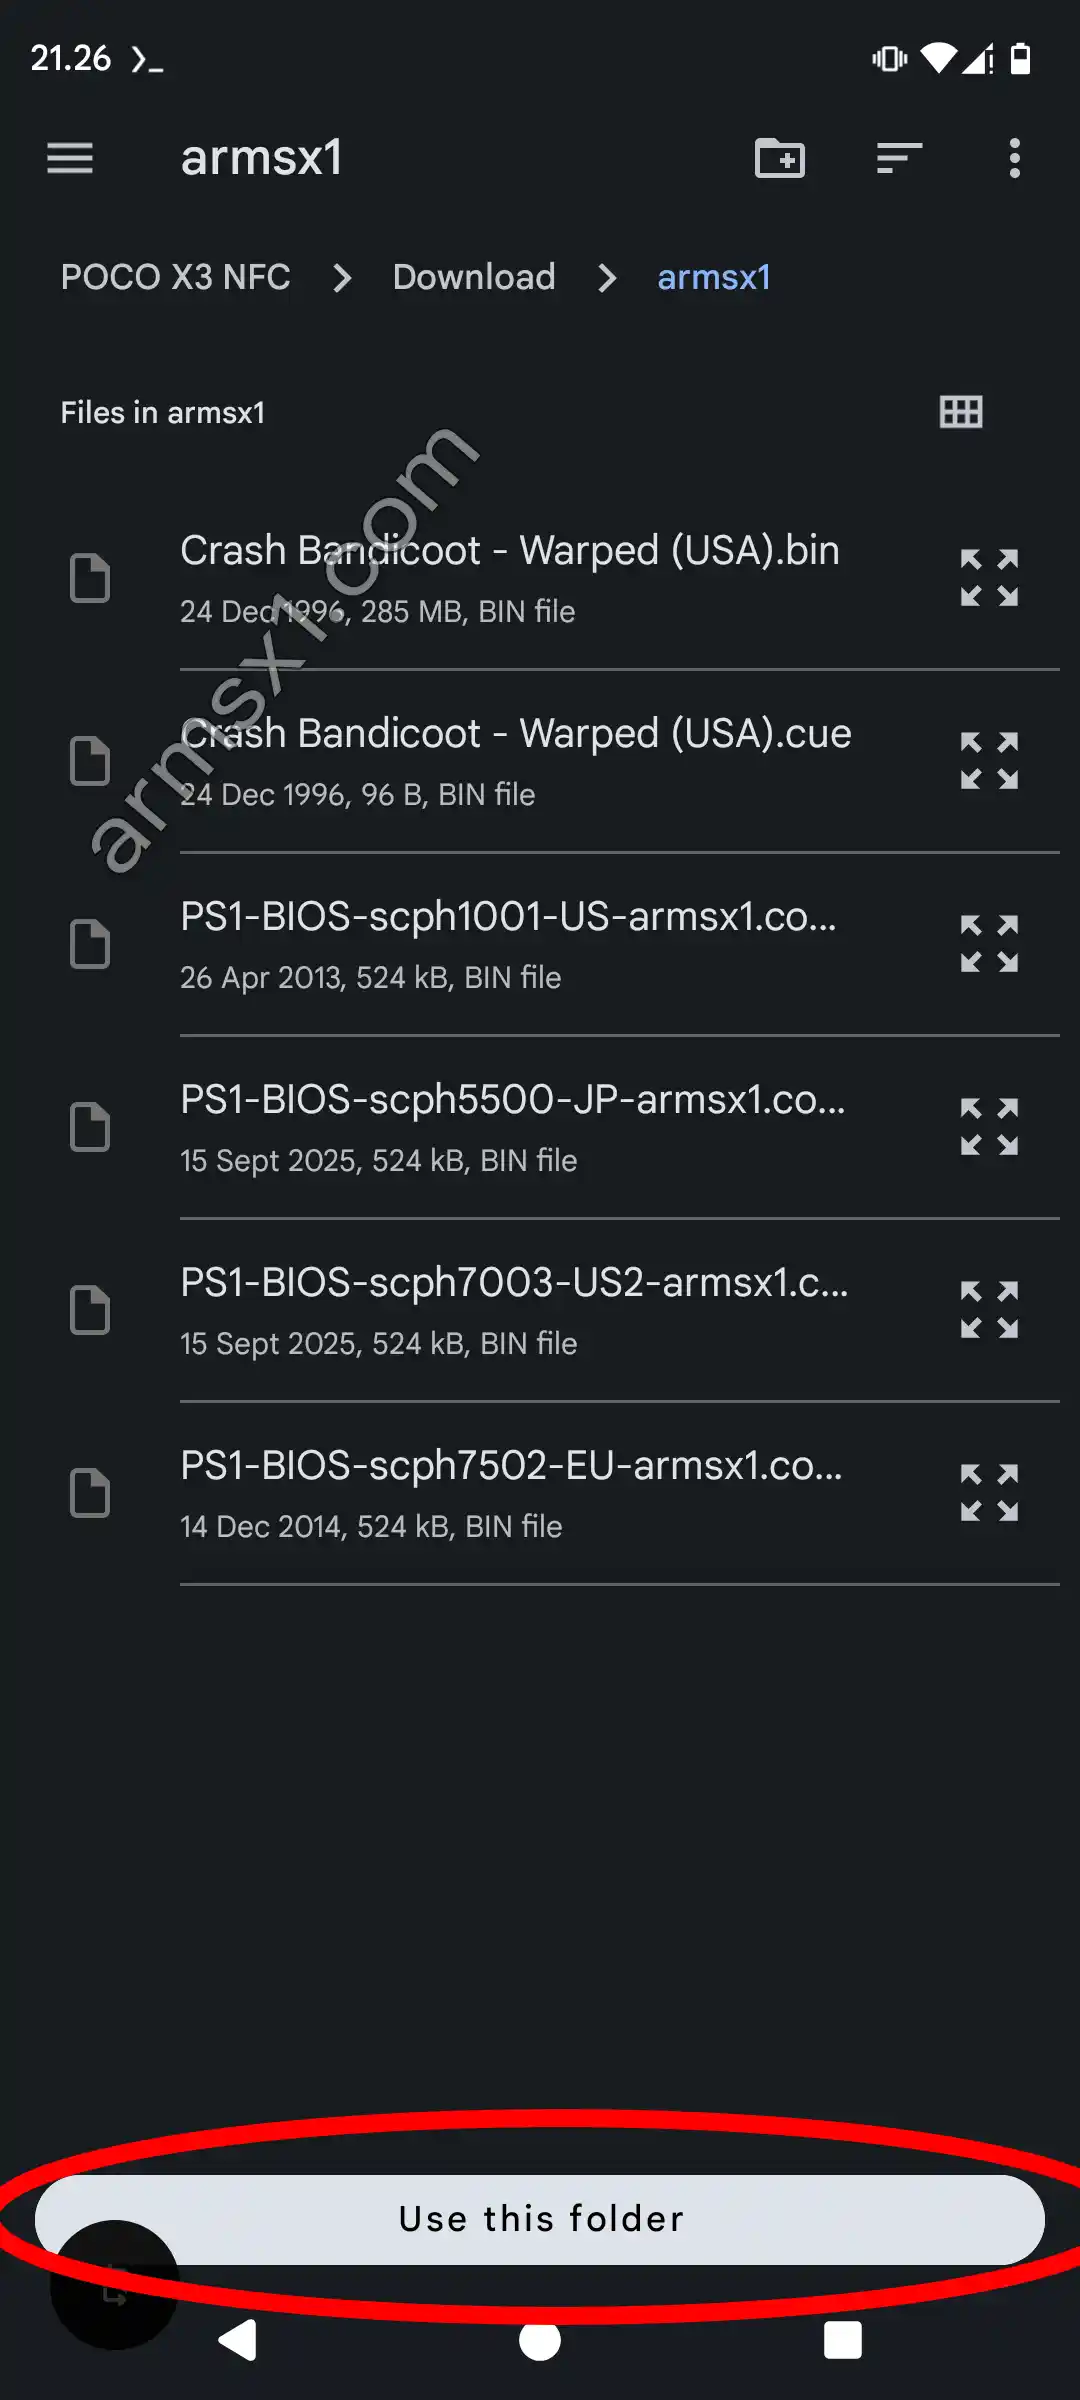
Open the folder containing the PS1 BIOS, then tap Use this folder. 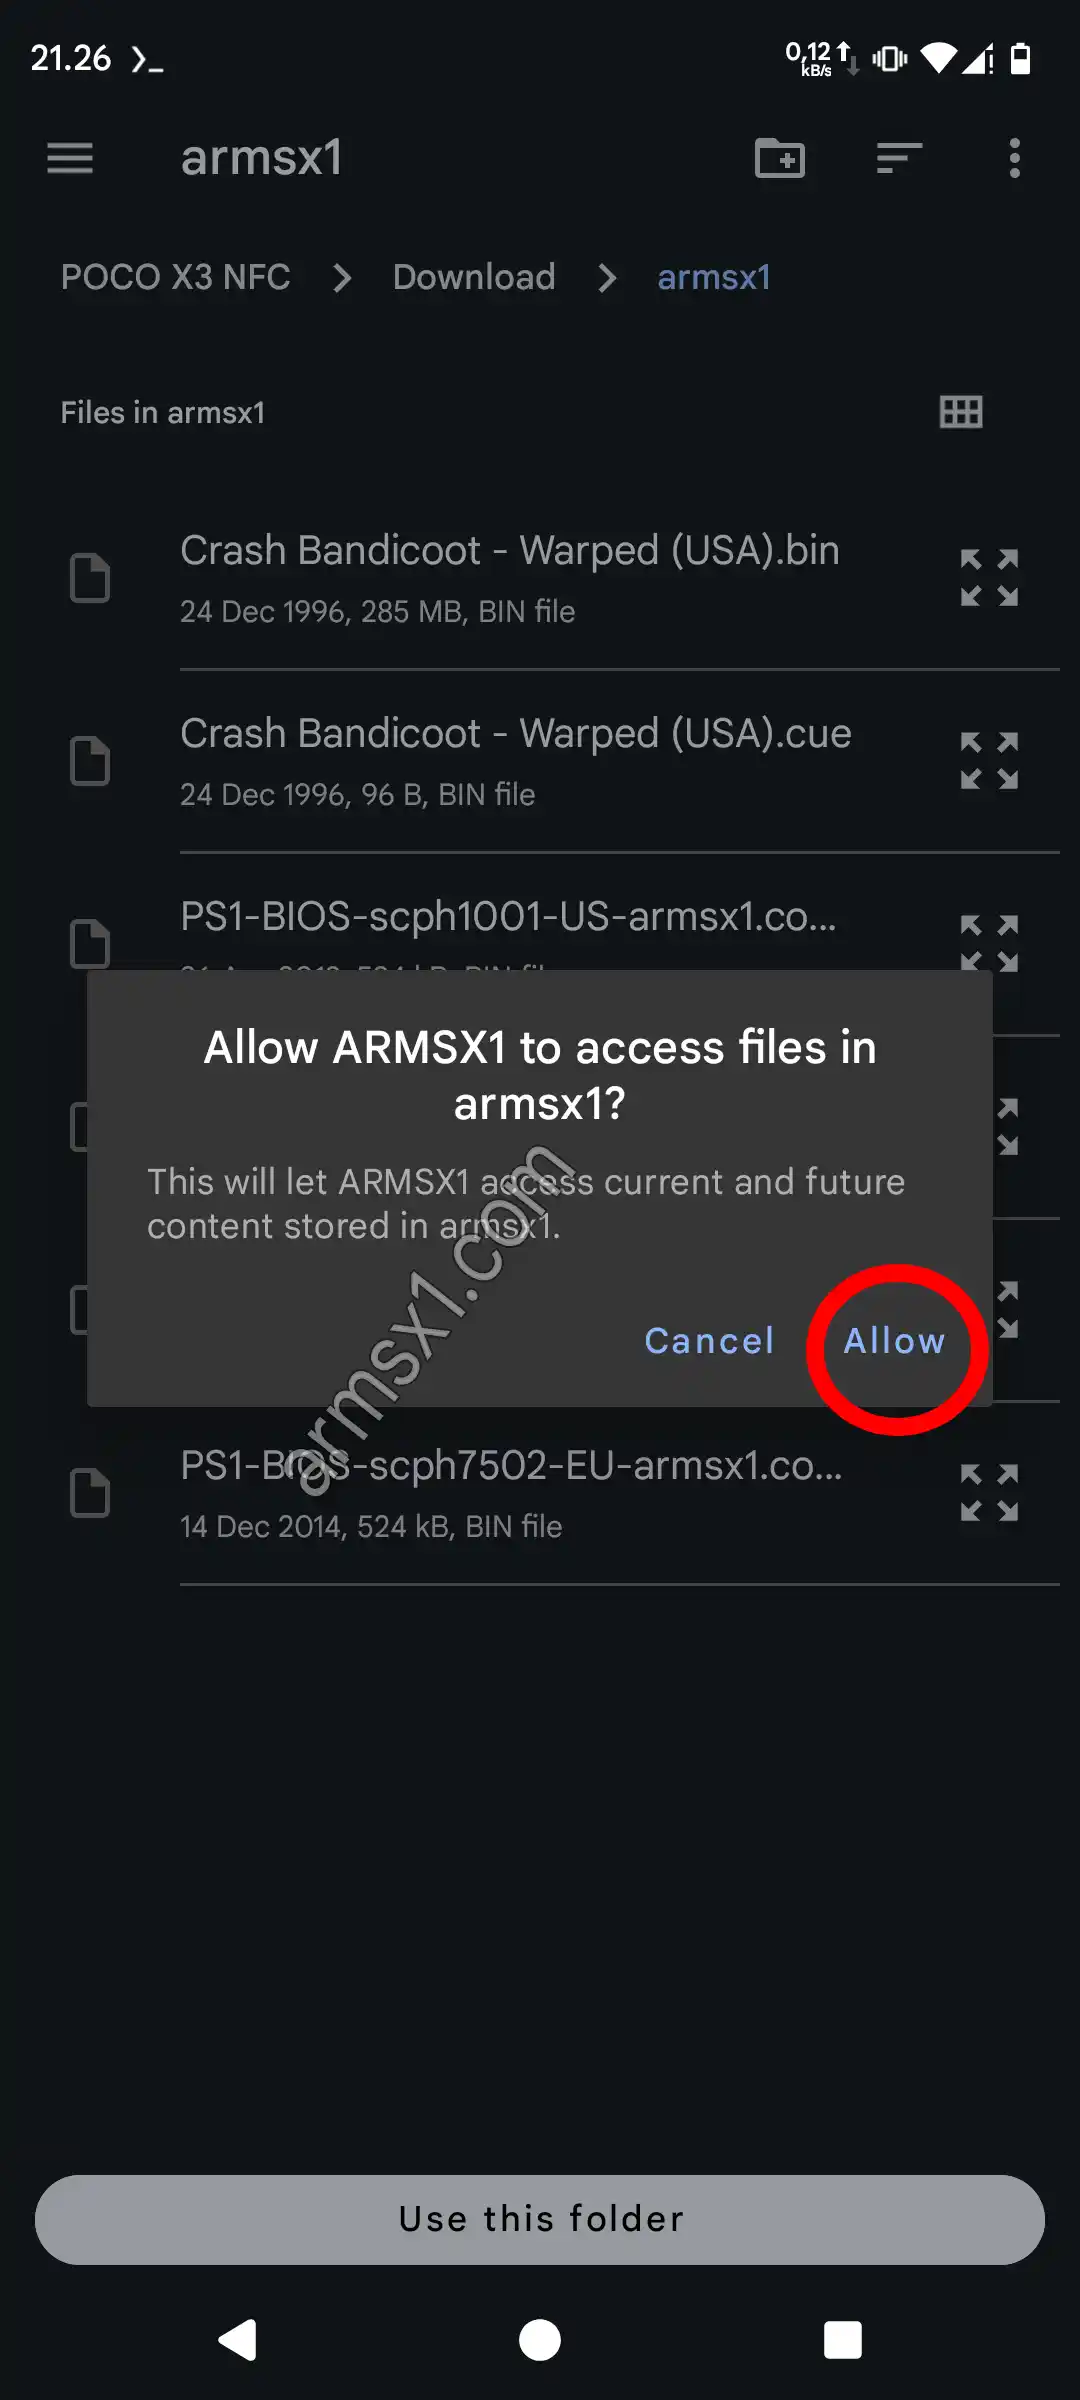
Tap Allow so that ARMSX1 can read that folder. 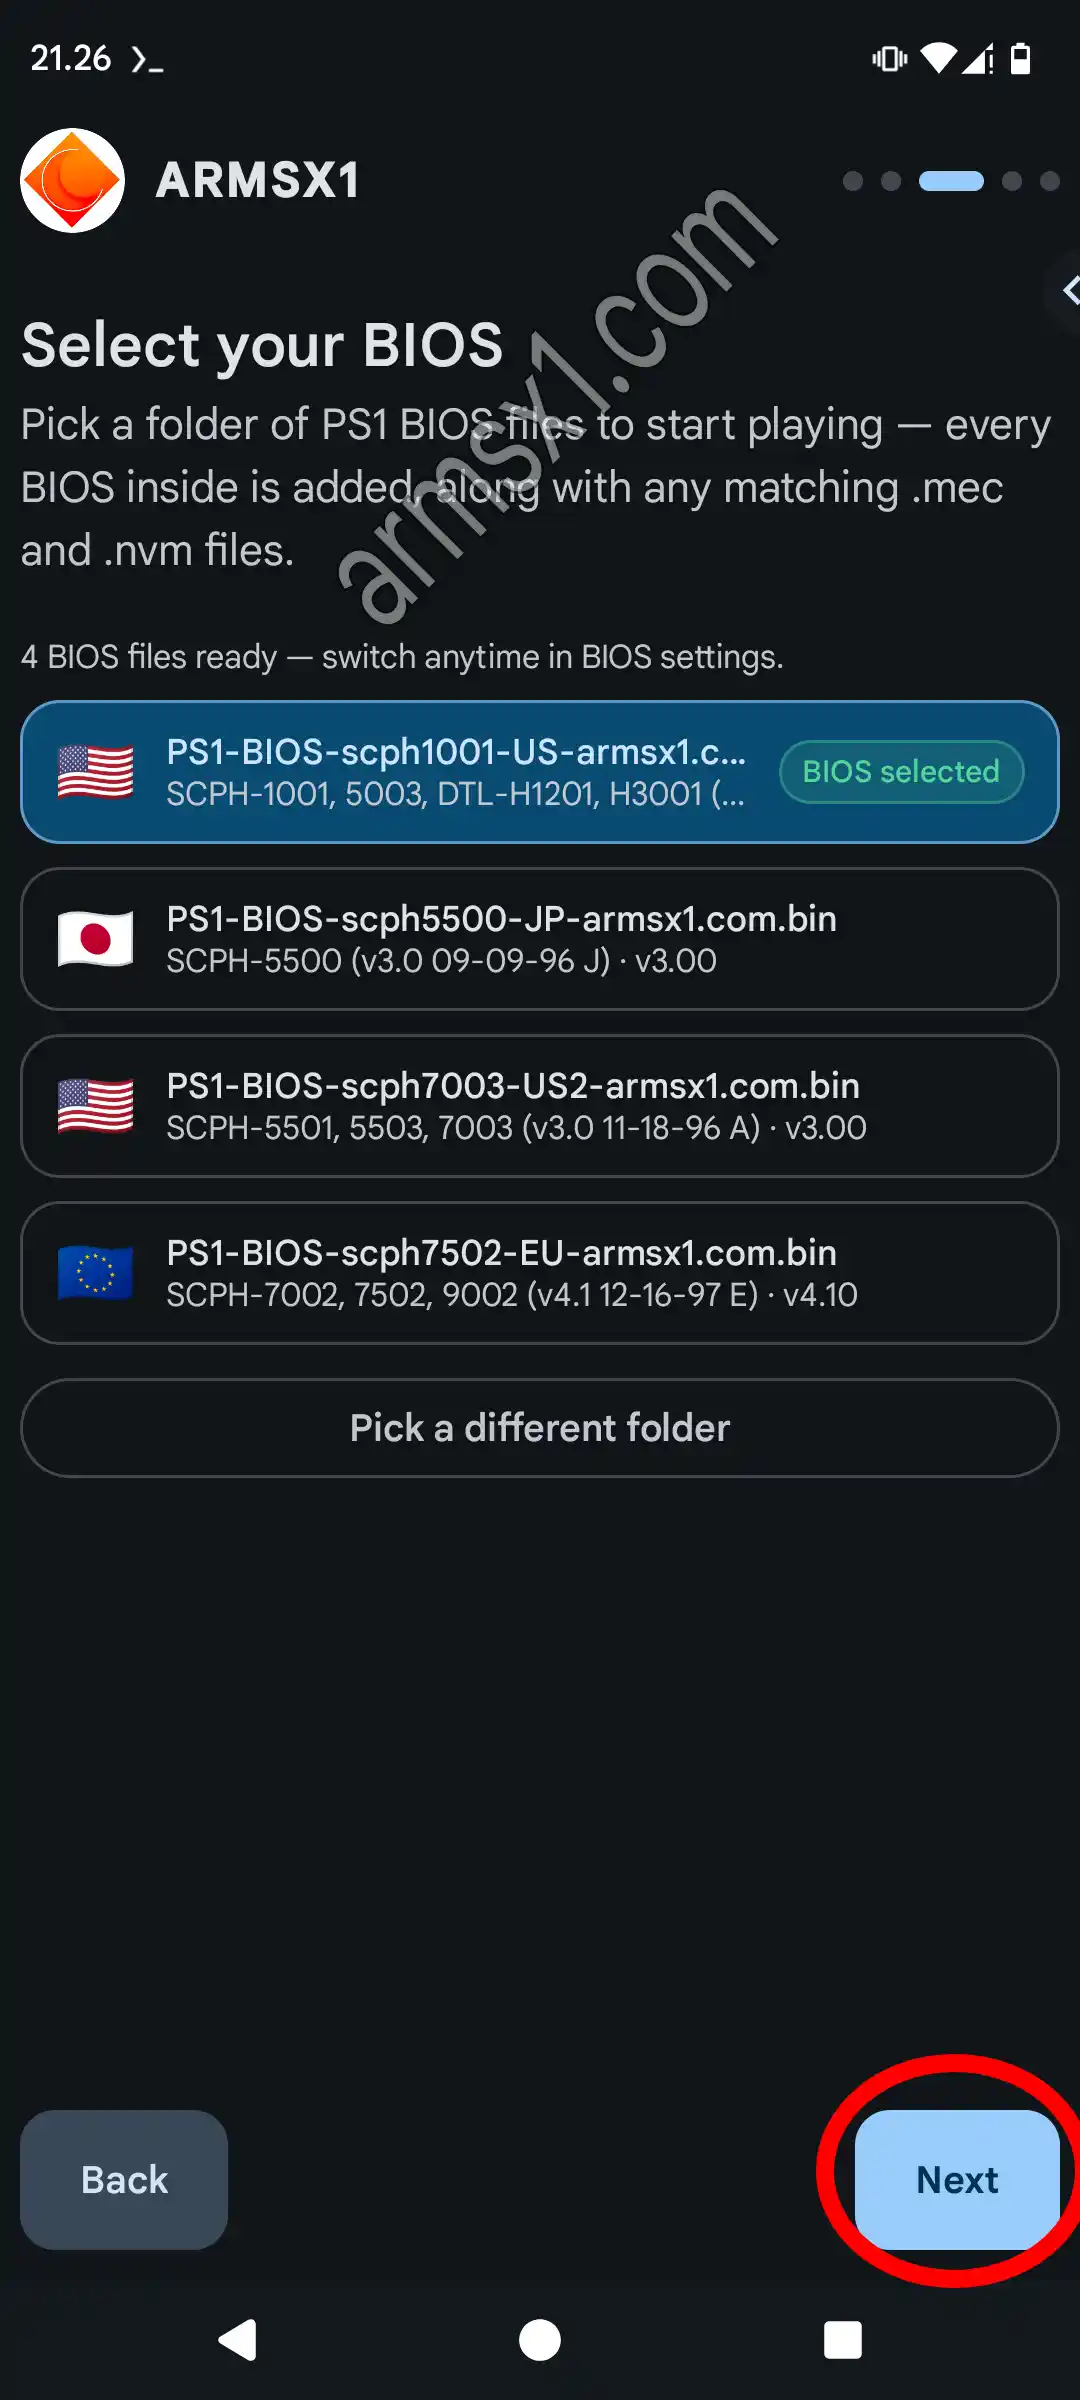
The detected BIOS appears in the list. Select one, then tap Next. -
Add game folder
In the "Select ROMs folder" step, tap "Pick ROMs Folder," navigate to the folder containing your PS1 disc images (BIN/CUE, ISO, or CHD), then tap "Use this folder" and "Allow." The folder will be added to the list. If your games are spread across multiple folders, tap "Add Another Folder."
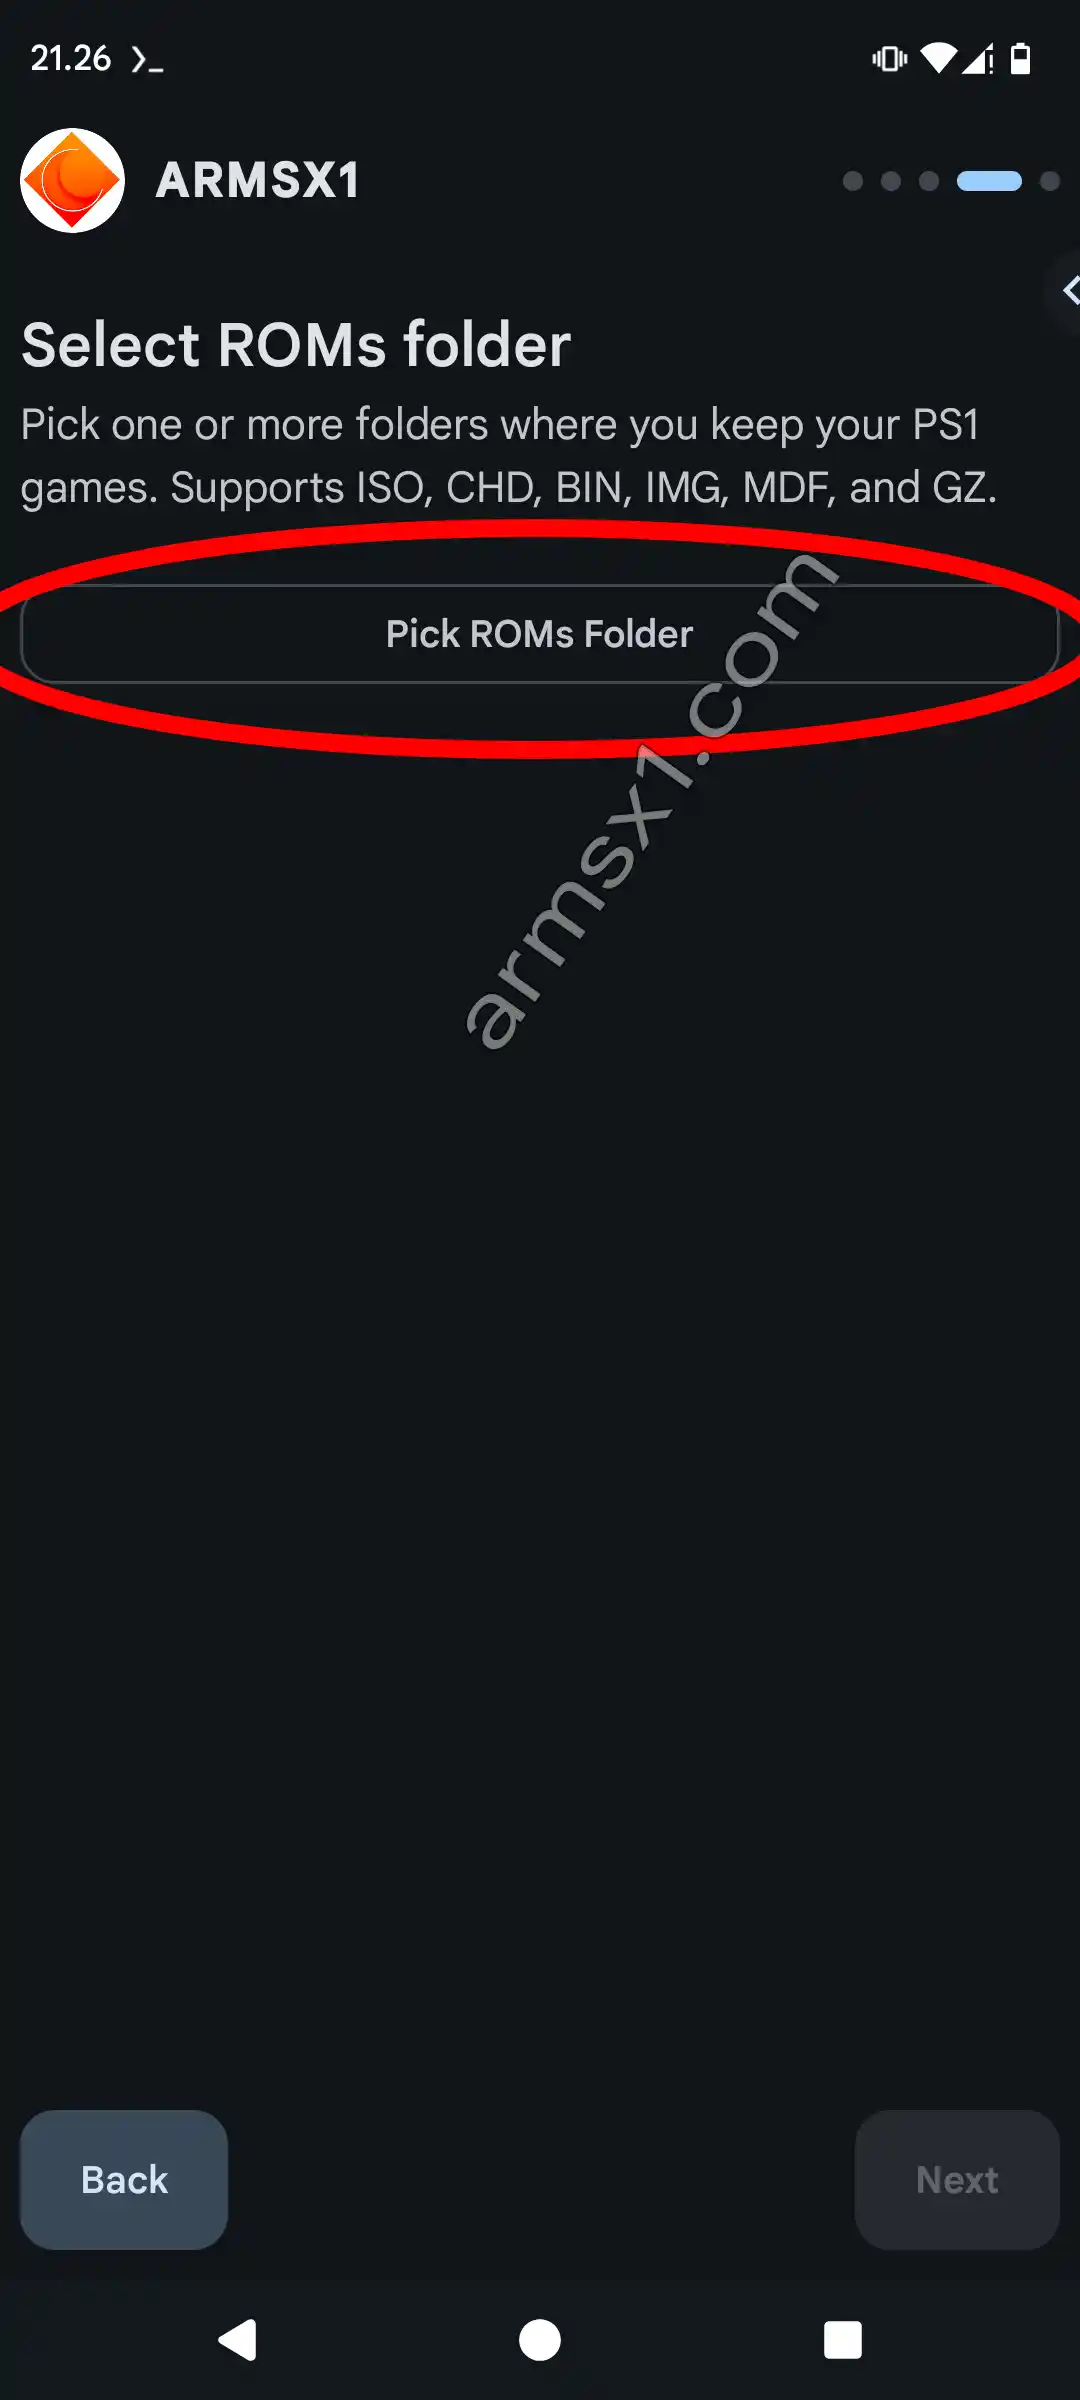
Tap Pick ROMs Folder. 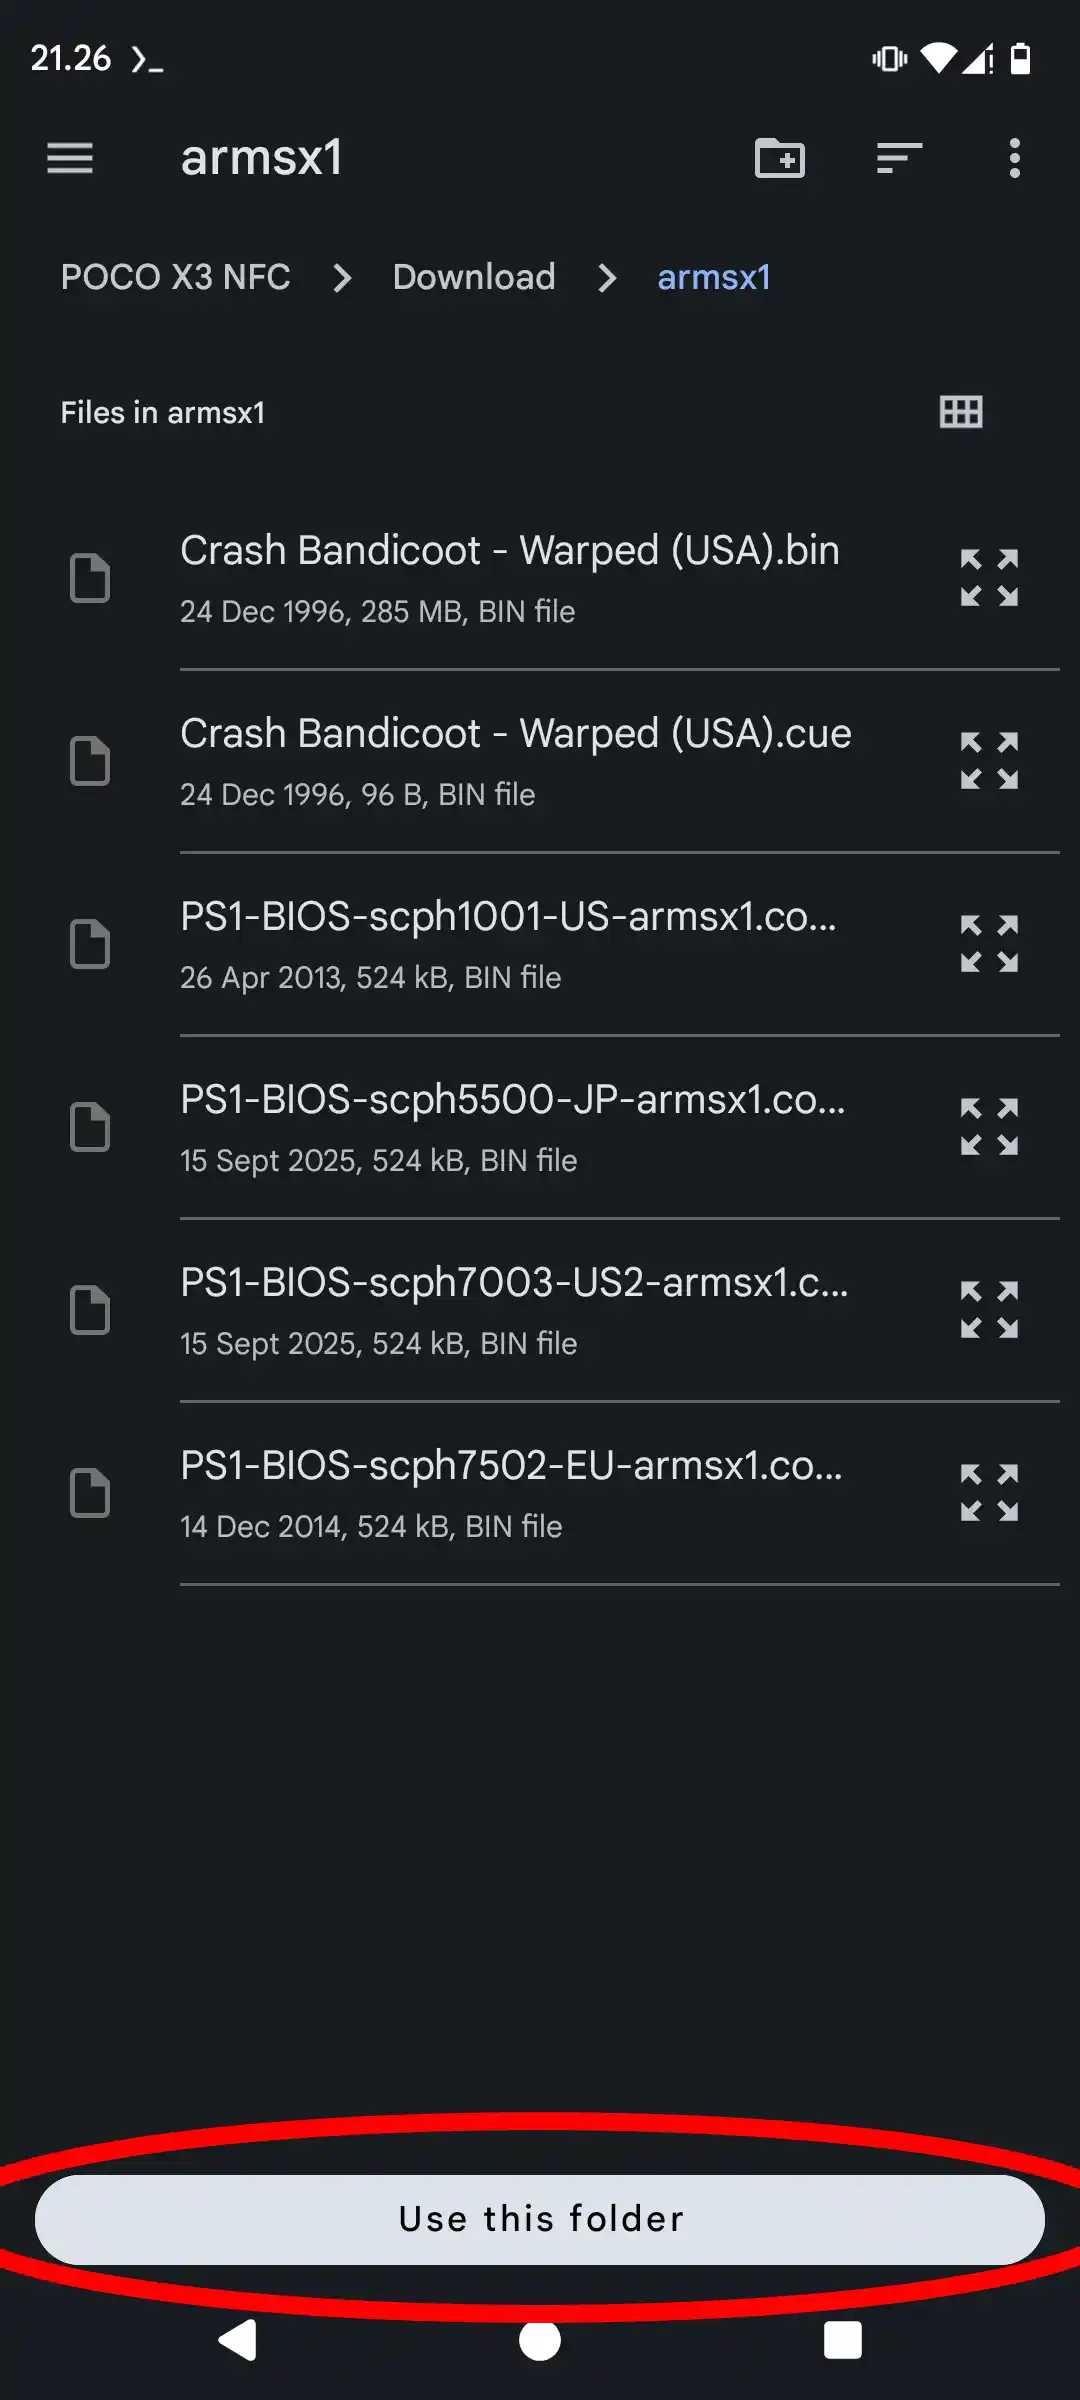
Select the folder where your game is stored, then tap Use this folder. 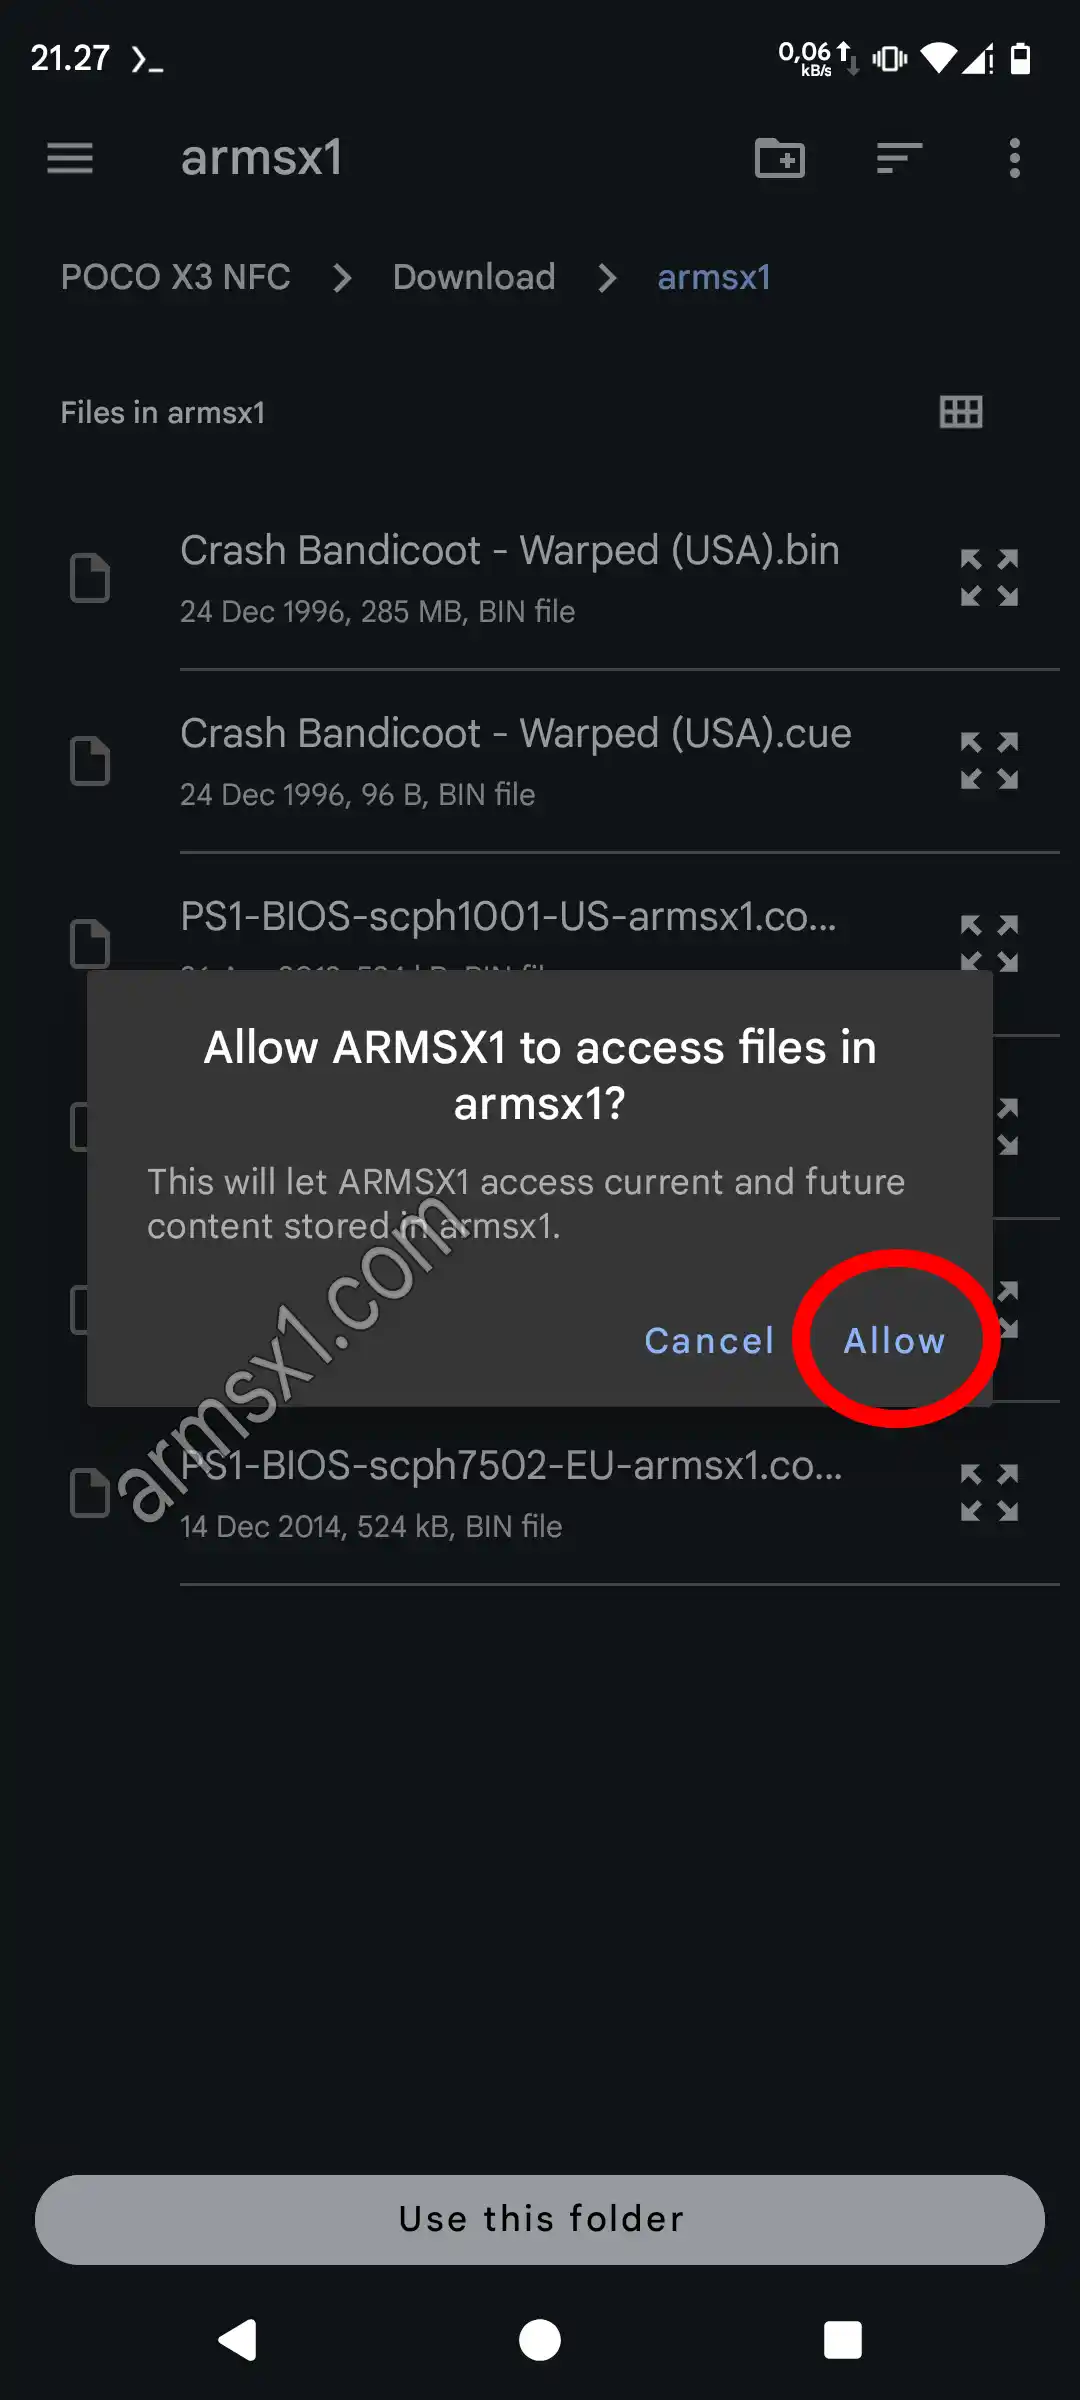
Tap Allow to grant access to the game folder. 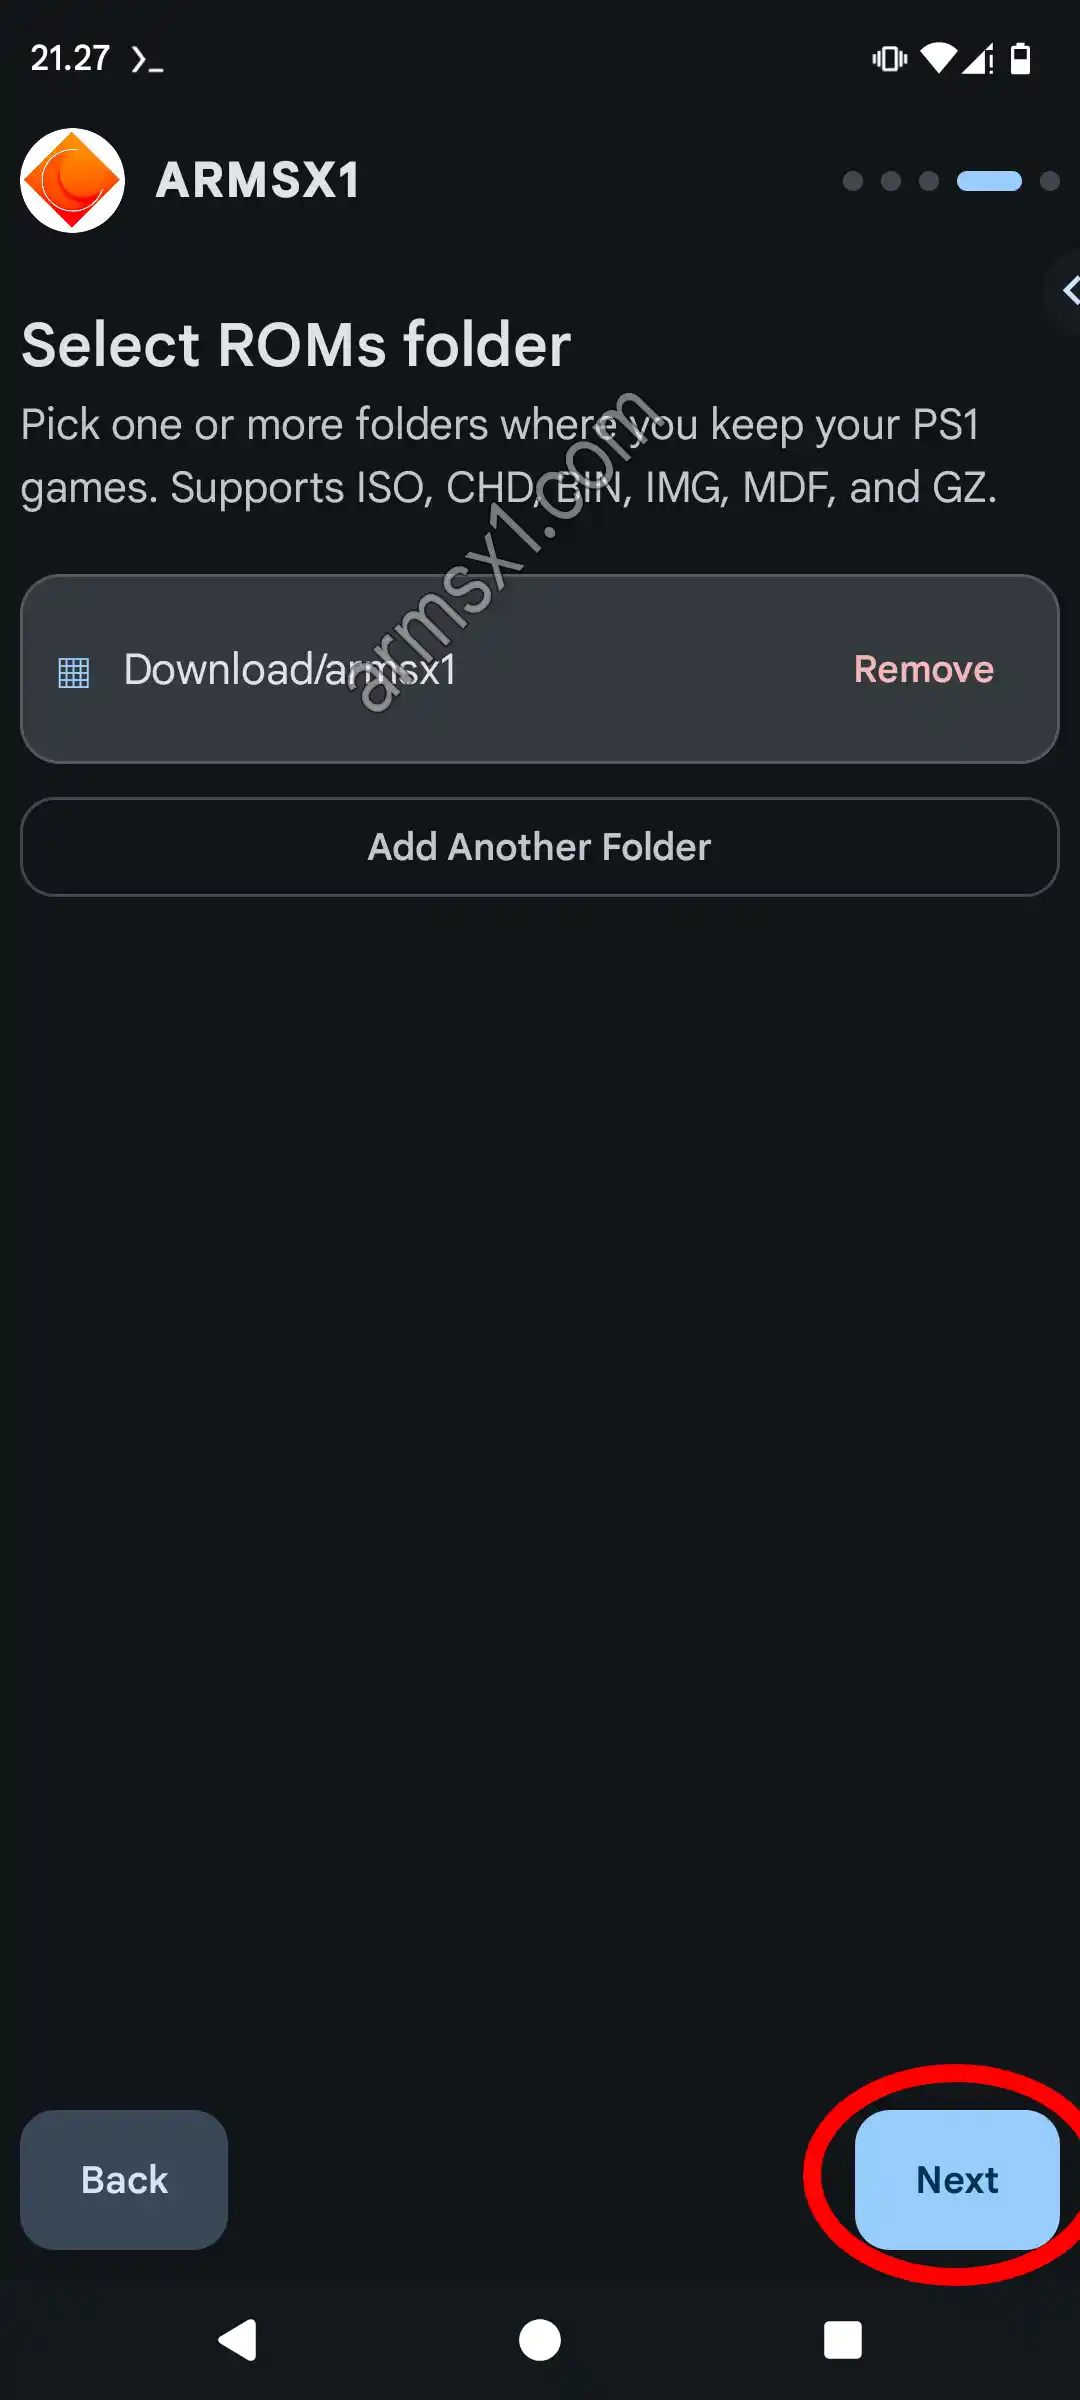
The game folder has been added to the list. Tap Next to continue. -
Apply setup
The Apply & Finish screen summarizes your selections: the data folder, the BIOS being used, and the number of ROM folders. Take a quick look, then tap Let's Go. ARMSX1 will scan your game folders and build its library.
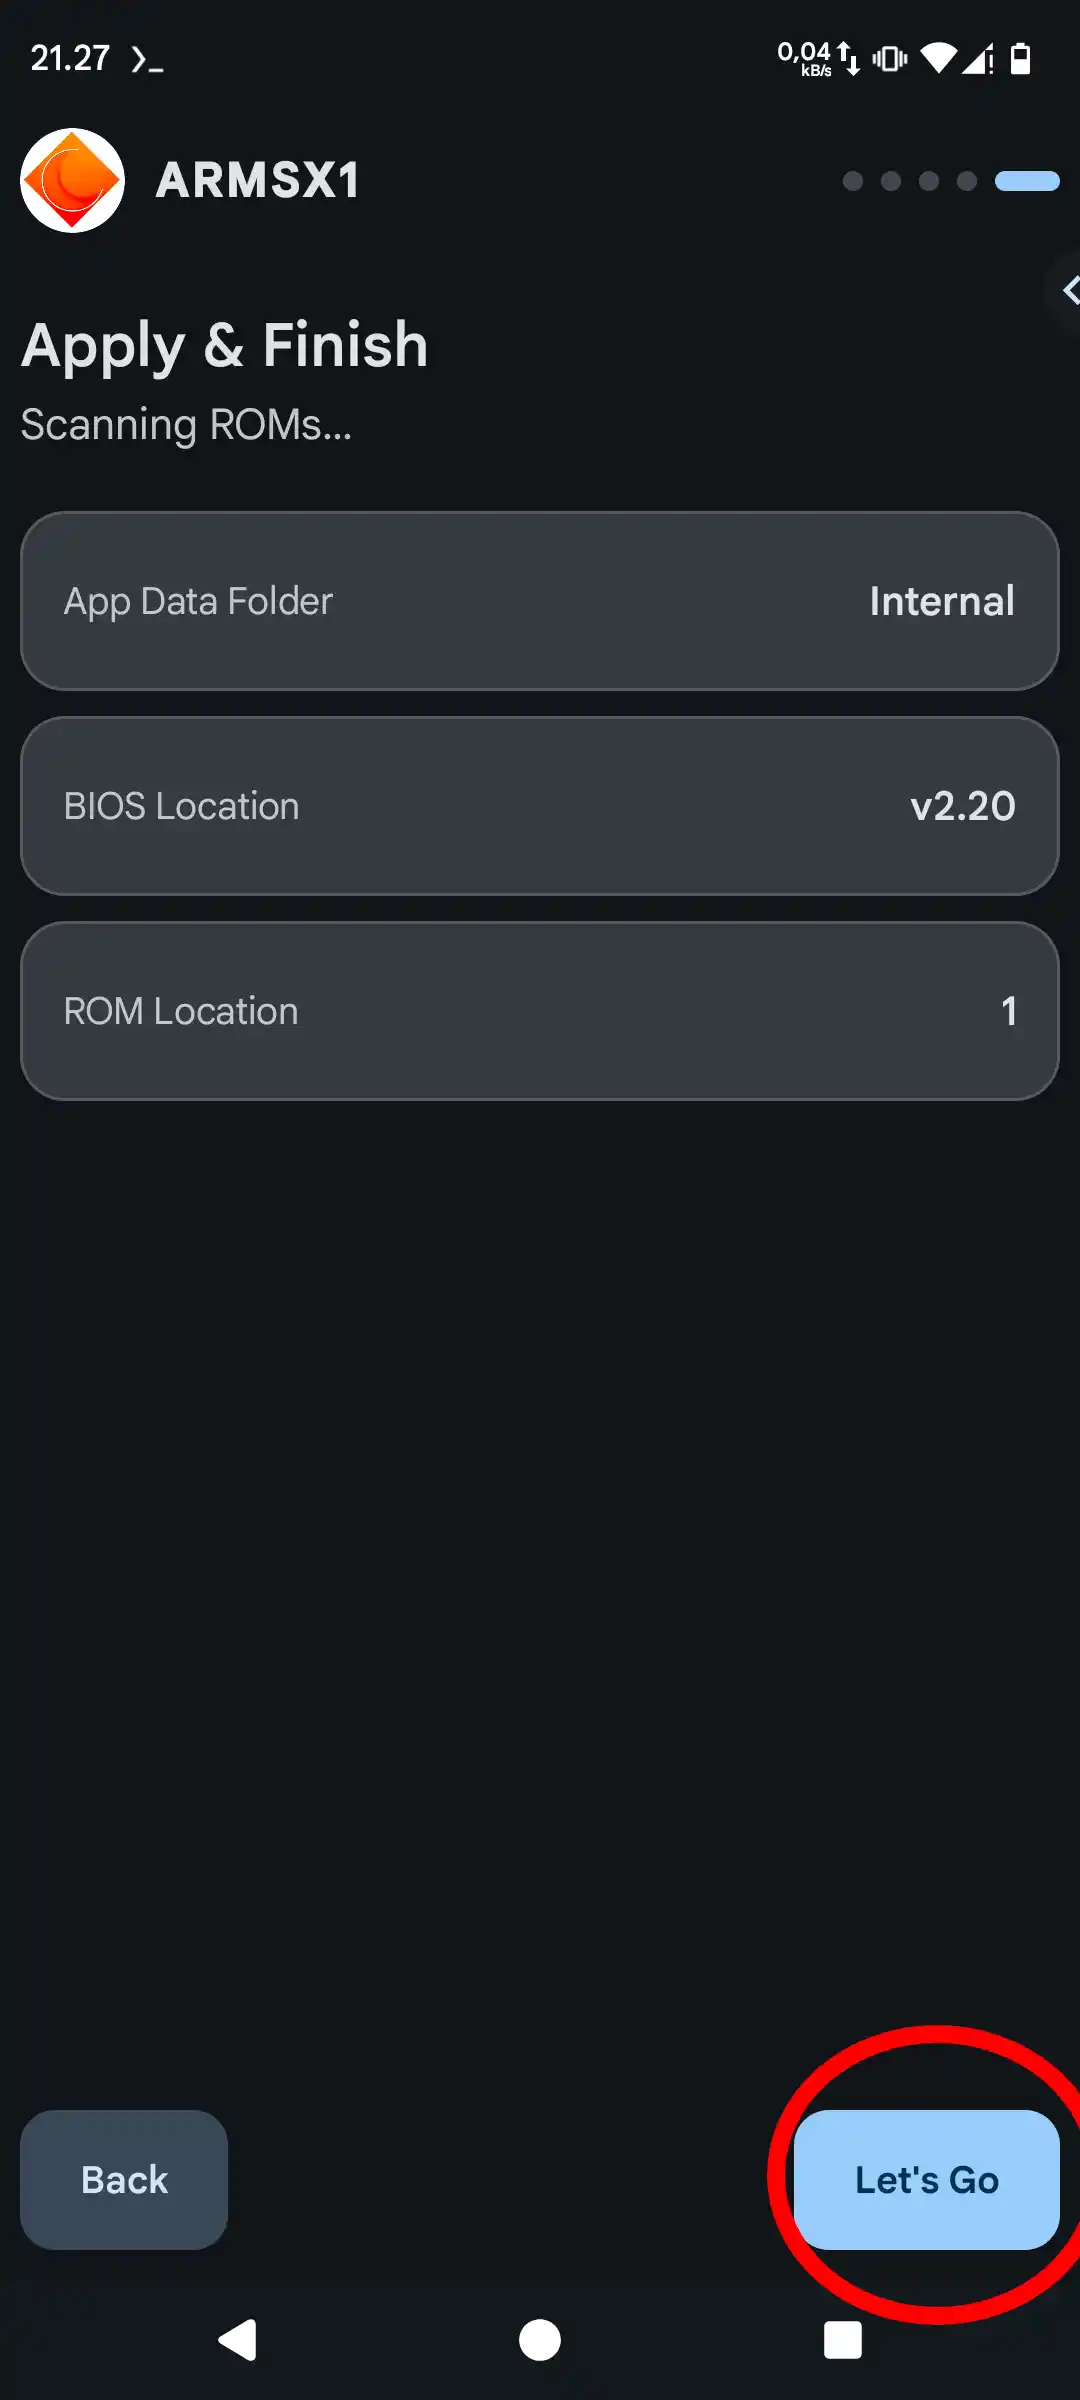
Setup summary. Tap Let's Go to apply it. -
Choose a game and play
Detected games appear in your library, complete with their cover art. Tap on one to launch it; control buttons will automatically appear on the screen. For a sharper image, go to Settings, select the Video tab, and choose HD 3×, the setting the developer recommends. The HD settings will only take effect once the game is restarted.
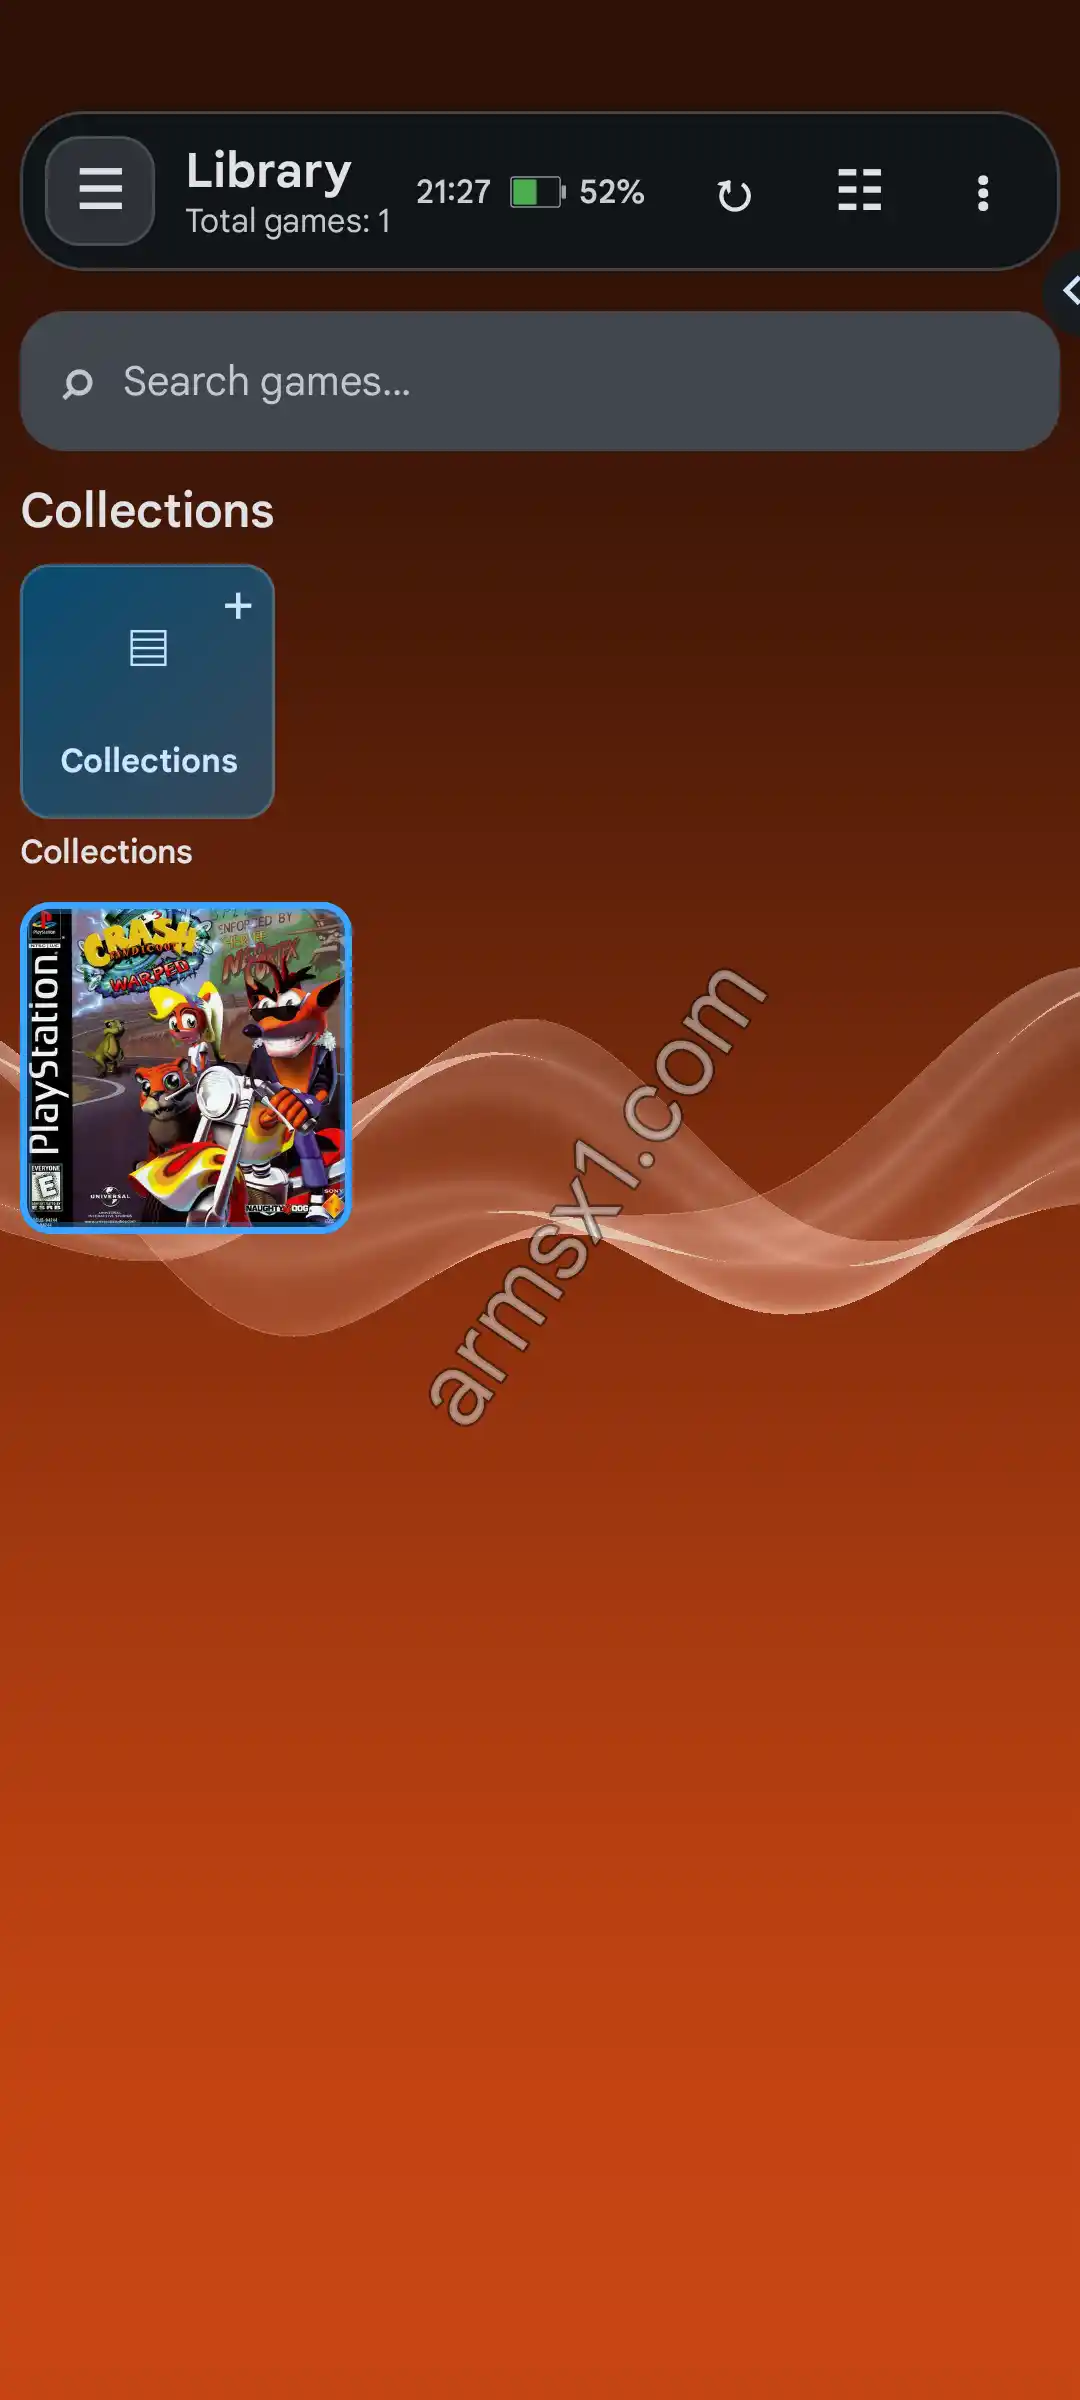
The game appears in your library with its cover art. Tap to launch it. 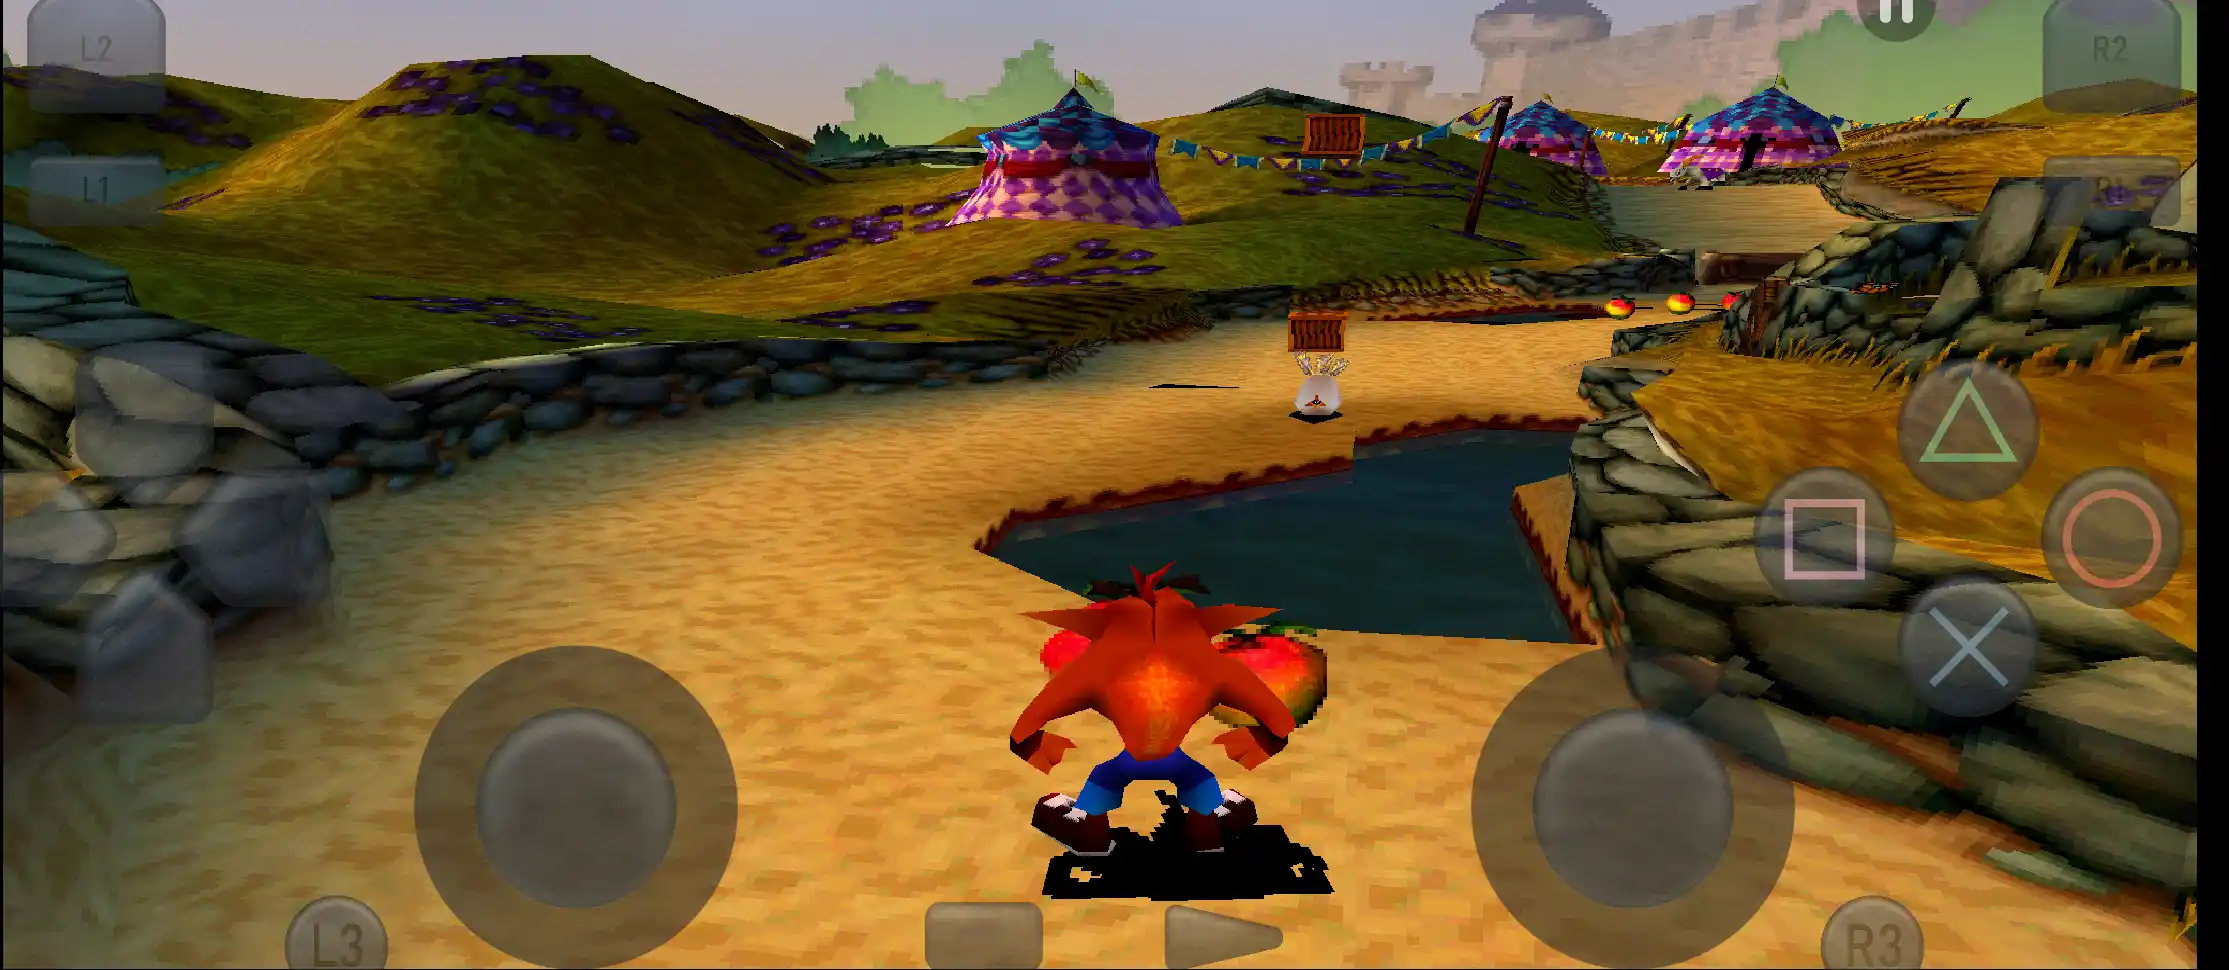
The game works well with on-screen controls.
Settings You Should Know About
Resolution and display
HD presets can be found under Settings, in the Video tab, labeled HD rendering preset. The available options are Native (1×), HD 2×, HD 3×, and HD 4×. Each preset adjusts both the internal resolution and the display resolution simultaneously, as they are linked. Higher presets increase the load on the GPU, so consider lowering the setting if the game feels sluggish. The developer recommends HD 3× as a balanced choice between visual sharpness and performance.
Per-game settings
Global settings apply to all games. To modify settings for an individual game, open the game's settings and select Game next to the Global toolbar. Changes made at the individual game level apply only to that specific game and take precedence over global settings. This is highly useful, as each game often requires its own unique configuration to achieve optimal performance.
CPU execution mode
If a game does not run properly, try using the "Interpreter" CPU execution mode, found under the "Emulation" tab. This mode is generally slower than "Cached," but it is more accurate. The change will take effect once the game is restarted.
Fast forward, screenshot and VSync
Physical buttons on a controller can be mapped to in-game actions via the Hotkey tab in Settings, for example Fast Forward (toggle), Screenshot, Rewind (hold), Swap Disc, and Reset Game. If you are not using a controller, the fast-forward function can be accessed from the pause menu by tapping the ⏸ button in the top-right corner of the game screen. The performance overlay can be configured under the On-Screen tab, while VSync settings are located in the Video section.
Advantages and Disadvantages of ARMSX1
Advantages
- HD presets from HD 2× to HD 4×. The developer recommends HD 3×.
- Up to 60 fps thanks to a new core in version 0.1.6, plus runahead to reduce input latency.
- Renderer options: Vulkan, OpenGL ES, ANGLE, and software, plus PGXP geometry correction.
- Custom Adreno drivers via a driver manager for the Vulkan renderer.
- Wide range of formats: BIN/CUE, ISO, CHD, ZIP, and M3U playlists for multi-disc games.
- Downloadable cheat database, RetroAchievements, and box art.
- Reconfigurable on-screen buttons and support for external controllers.
- Available for free download.
Disadvantages
- Does not include a built-in BIOS. You need to download the PS1 BIOS and install it manually in the emulator.
- Currently, it only supports the Android OS. Other platforms have not yet been released.
- Not fully open source. The ARMSX1 frontend is proprietary; only SwanStation and its related components are licensed under the GPL.
- High-definition (HD) presets can place a heavy load on the GPU and only sharpen 3D graphics, not original textures or videos.
- Custom drivers only support the Vulkan renderer on Adreno GPUs. Mali, Xclipse, and PowerVR use the built-in system drivers.
ARMSX1 General Questions and Answers
Supported Platforms
Android is the only platform with a published build. The source also targets desktop, iOS, UWP, WebAssembly and PSVita, but no release has shipped for them yet.